Installation of Apache, MySQL, PHP (LAMP) on CentOS / RHEL
The LAMP stack, an acronym for Linux, Apache, MySQL, and PHP (or Perl/Python), represents a powerful and widely adopted software bundle used for developing and deploying web applications. It provides a comprehensive platform for serving dynamic content, managing databases, and handling server-side logic. While the core components remain consistent, the LAMP stack is adaptable, allowing for the substitution of individual components based on project needs. This guide will walk you through the process of installing and configuring a LAMP stack on CentOS/RHEL systems.
The Apache HTTP Server is a cornerstone of the internet, serving as a robust, free, and open-source web server. Its cross-platform compatibility and the backing of the Apache Software Foundation make it a reliable choice for hosting websites and web applications.
Step 1: Installing Apache
To begin, we’ll install the Apache web server using the yum package manager. Execute the following command in your terminal:
$ sudo yum install httpd yum-utilsThis command retrieves and installs the httpd package along with yum-utils, a collection of helpful utilities for managing yum repositories and packages.
Once the installation is complete, start the Apache server using the following command:
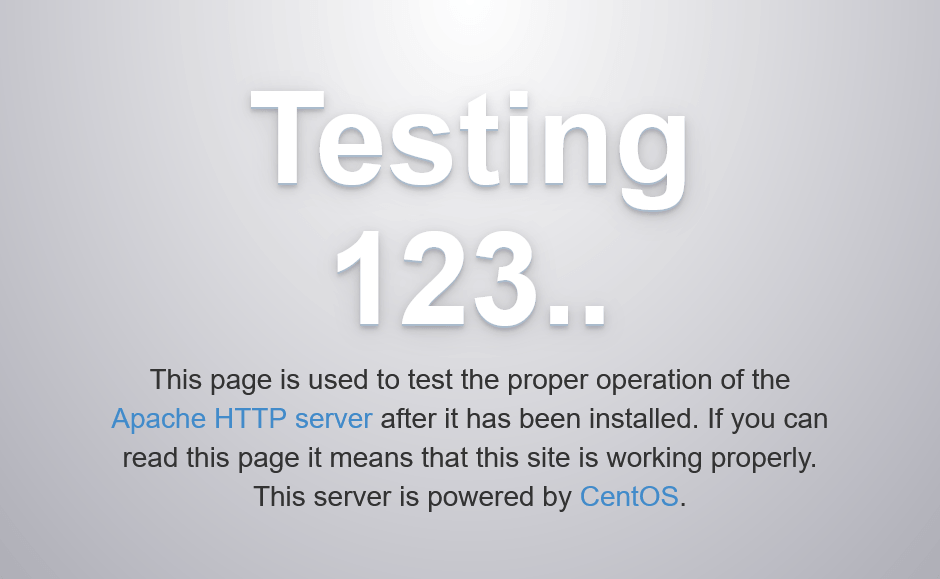
$ sudo systemctl start httpdTo verify that Apache is running correctly, open your web browser and navigate to your server’s public IP address or domain name:
http://your_IP_addressIf the installation was successful, you should see the default Apache welcome page.
To ensure that Apache starts automatically upon system boot, enable the httpd service:
$ sudo systemctl enable httpd.serviceStep 2: Installing MySQL
For detailed instructions on installing MySQL, please refer to this guide: Install MySQL on CentOS/Redhat 7/6 & Fedora 31/30.
Step 3: Installing PHP
PHP is the scripting language that will handle the dynamic content generation within our LAMP stack. It interprets code, interacts with the MySQL database to retrieve data, and delivers the processed information to the web server for display.
Since the default PHP version available on CentOS 7 and RedHat 7 is often outdated, we need to add a third-party repository to access more recent versions, like PHP 7+. The Remi repository is a popular choice, providing updated PHP packages for CentOS systems.
First, install the Remi repository:
$ sudo yum install http://rpms.remirepo.net/enterprise/remi-release-7.rpmAfter the repository is installed, you can verify the availability of PHP 7+ versions by running:
$ yum --disablerepo="*" --enablerepo="remi-safe" list php[7-9][0-9].x86_64This command lists all PHP packages in the "remi-safe" repository that match the pattern php[7-9][0-9].x86_64, effectively showing you available PHP 7.x and 8.x versions.
Output :
Loaded plugins: fastestmirror
Loading mirror speeds from cached hostfile
 * remi-safe: mirrors.ukfast.co.uk
Available Packages
php70.x86_64            2.0-1.el7.remi                    remi-safe
php71.x86_64            2.0-1.el7.remi                    remi-safe
php72.x86_64            2.0-1.el7.remi                    remi-safe
php73.x86_64            2.0-1.el7.remi                    remi-safe
php74.x86_64            1.0-3.el7.remi                    remi-safe
php80.x86_64            1.0-3.el7.remi                    remi-safe
For this guide, we will install PHP 7.4. Enable the Remi repository for PHP 7.4 using the following command:
$ sudo yum-config-manager --enable remi-php74Now, you can install PHP 7.4 and the necessary extensions for Apache and MySQL integration:
$ sudo yum install php php-mysqlnd php-fpmConfirm the PHP version by running:
$ php --versionOutput :
PHP 7.4.8 (cli) (built: Jul 9 2020 16:09:41) (NTS)
Copyright (c) The PHP Group
Zend Engine v3.4.0, Copyright (c) Zend Technologies
  with Zend OPcache v7.4.21, Copyright (c), by Zend Technologies
This output confirms that PHP 7.4 is successfully installed on your system.
Step 4: Running PHP on Apache
By default, CentOS 7 configures Apache with a document root at /var/www/html. This means that any files placed in this directory will be accessible through your web browser. No further Apache configuration is typically required for PHP to function correctly.
To test the PHP installation, create a file named info.php in the document root:
$ nano /var/www/html/info.phpAdd the following PHP code to the file:
<?php
phpinfo();
Save and close the file.
Now, access the info.php file through your web browser using the following URL:
http://server_public_IP/info.php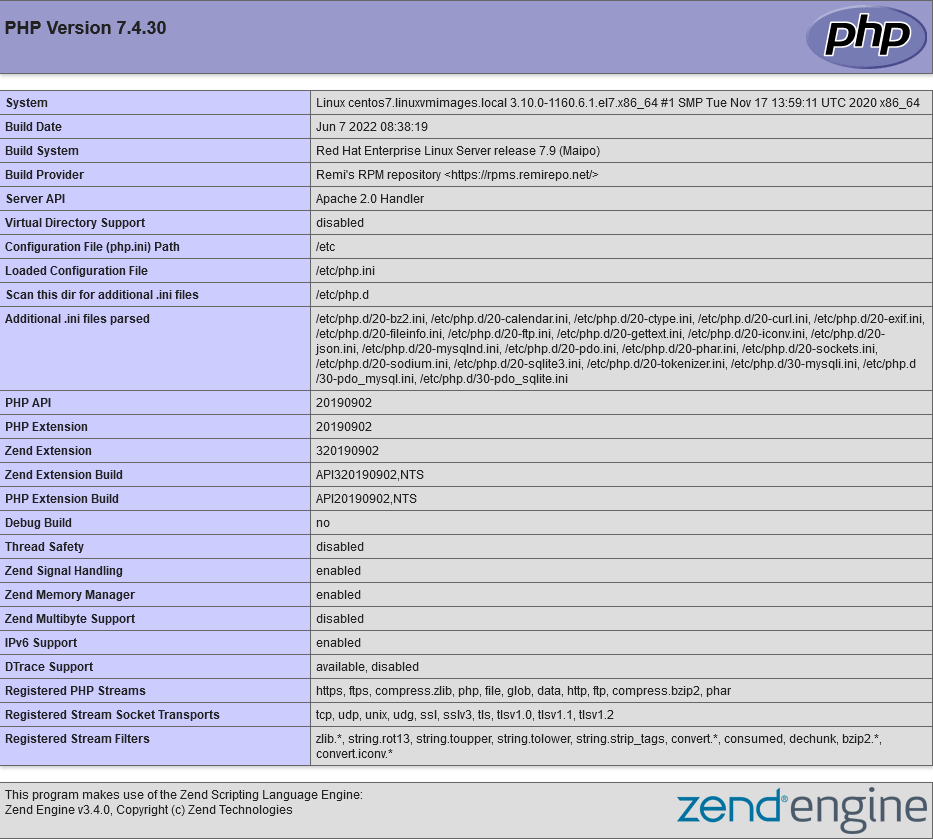
This will display a comprehensive page detailing your PHP configuration, confirming that PHP is correctly installed and integrated with Apache. You have successfully installed a LAMP stack.
Alternative Solutions for PHP Installation
While the Remi repository method is effective, here are two alternative approaches for installing PHP:
1. Using Software Collections (SCL)
Software Collections (SCL) provide a way to install and run multiple versions of software on the same system without conflicting with the base operating system packages. This is particularly useful if you need to support older applications that require specific PHP versions.
To use SCL for PHP installation, you first need to install the centos-release-scl package:
sudo yum install centos-release-sclThen, you can install a specific PHP version from the SCL repository. For example, to install PHP 7.3:
sudo yum install rh-php73To use PHP installed through SCL, you need to enable the specific SCL environment:
scl enable rh-php73 bashThis will modify your current shell environment to use the PHP 7.3 binaries. To make this permanent for a specific user, you can add the scl enable command to their .bashrc file.
Explanation:
SCL creates separate directories for the installed software and modifies environment variables to point to those directories when the environment is enabled. This isolates the SCL software from the base system. This method is useful when you need multiple PHP versions on the same server.
2. Using Docker Containers
Docker provides a containerization platform that allows you to package applications and their dependencies into isolated containers. This approach ensures consistency across different environments and simplifies deployment.
You can use pre-built PHP Docker images from Docker Hub, or create your own. Here’s an example of using the official PHP 7.4 FPM image with Apache:
First, create a Dockerfile with the following content:
FROM php:7.4-fpm

# Install any necessary PHP extensions
RUN docker-php-ext-install mysqli pdo pdo_mysql

# Copy your application code into the container
COPY . /var/www/html

# Set the working directory
WORKDIR /var/www/html
Then, build the Docker image:
docker build -t my-php-app .Next, configure Apache to proxy requests to the PHP container. This typically involves enabling the proxy_fcgi module and configuring a VirtualHost. A basic Apache VirtualHost configuration might look like this:
<VirtualHost *:80>
    ServerName yourdomain.com
    DocumentRoot /var/www/html

    <FilesMatch .php$>
        SetHandler "proxy:fcgi://127.0.0.1:9000/"
    </FilesMatch>

    <Directory /var/www/html>
        AllowOverride All
        Require all granted
    </Directory>

    ErrorLog ${APACHE_LOG_DIR}/error.log
    CustomLog ${APACHE_LOG_DIR}/access.log combined
</VirtualHost>
Finally, run the Docker container:
docker run -d -p 9000:9000 my-php-appExplanation:
Docker isolates the PHP environment within a container, ensuring that dependencies are consistent and preventing conflicts with the host system. Apache acts as a reverse proxy, forwarding PHP requests to the container running PHP-FPM. This method offers excellent portability and scalability. The installation of Apache, MySQL, PHP (LAMP) on CentOS / RHEL is now complete with a better understanding. The LAMP stack is a powerful combination.