Installing SQL Server on Windows Server – A Step-by-Step Guide
Here’s a detailed, step-by-step guide on how to install Microsoft SQL Server on a Windows Server operating system, including the installation of Microsoft SQL Server Management Studio (SSMS). Microsoft SQL Server is a robust relational database management system (RDBMS) developed by Microsoft. It’s designed for both on-premises and cloud environments, allowing you to efficiently store, manage, and retrieve data for a wide range of applications. This guide specifically focuses on Installing SQL Server on Windows Server.
Prerequisites:
- A running instance of Windows Server (e.g., Windows Server 2016, 2019, or 2022).
- Administrative privileges on the server.
- Sufficient disk space for the SQL Server installation.
- An internet connection to download the SQL Server installation media and SSMS.
Instructions:
-
Download SQL Server Installation Media:
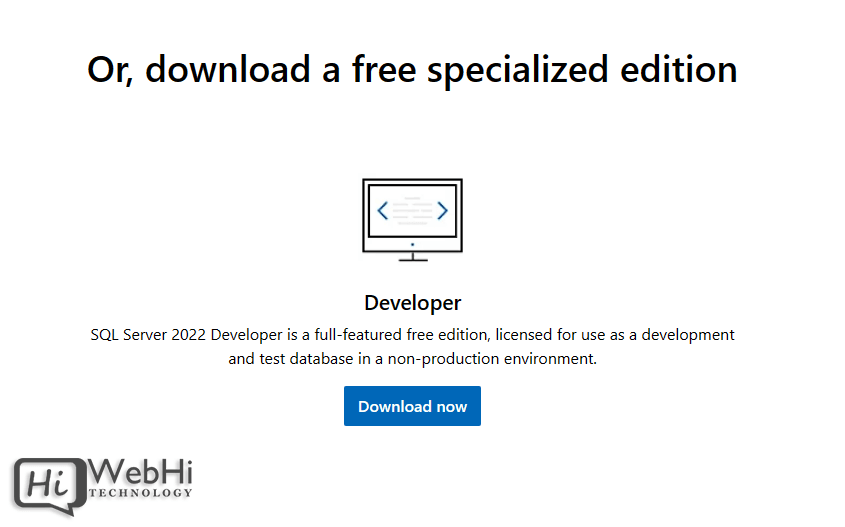
Navigate to the Microsoft SQL Server downloads page. Download the appropriate SQL Server edition (e.g., Developer, Express, or Evaluation). For production environments, consider a licensed edition.

-
Start the Installation Process:
Once the download is complete, open the setup file (typically an .exe file) to start the installation process.
-
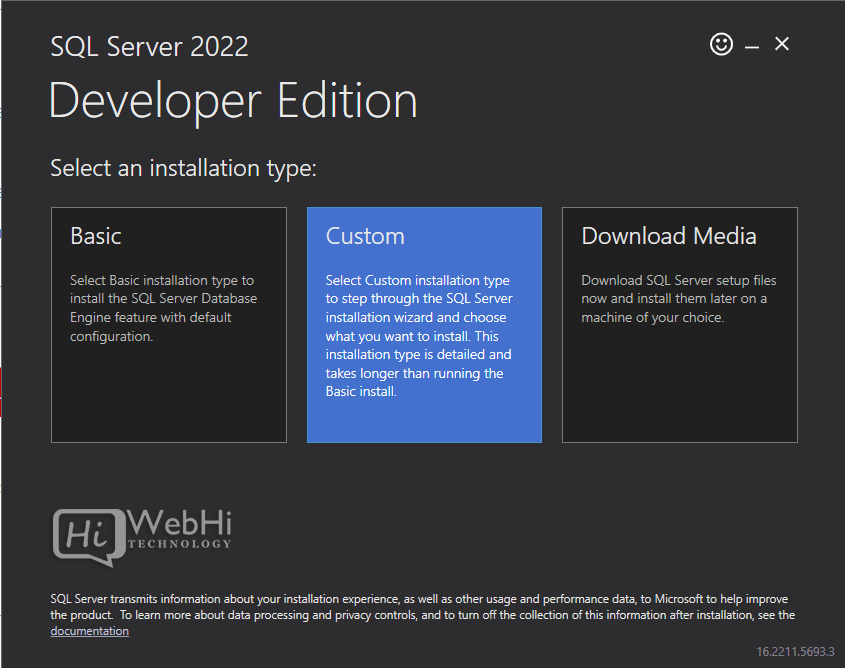
Choose Installation Type:
Select the "Custom" installation type. This provides more control over the features and settings you want to configure.

-
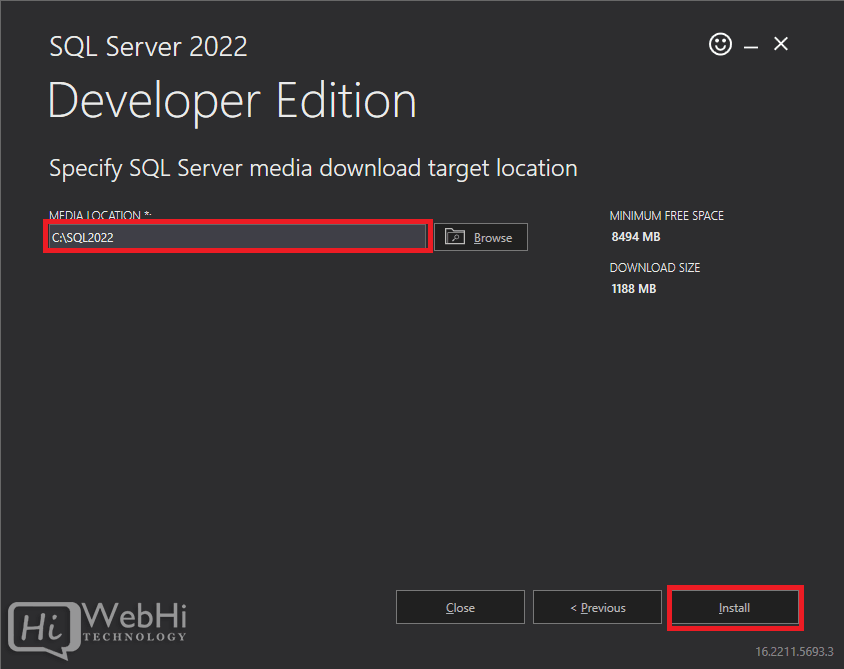
Specify Installation Media Location:
Choose a location on your server to store the downloaded installation media files. Ensure you have sufficient space on the selected drive. Click "Install" to begin the download process.

-
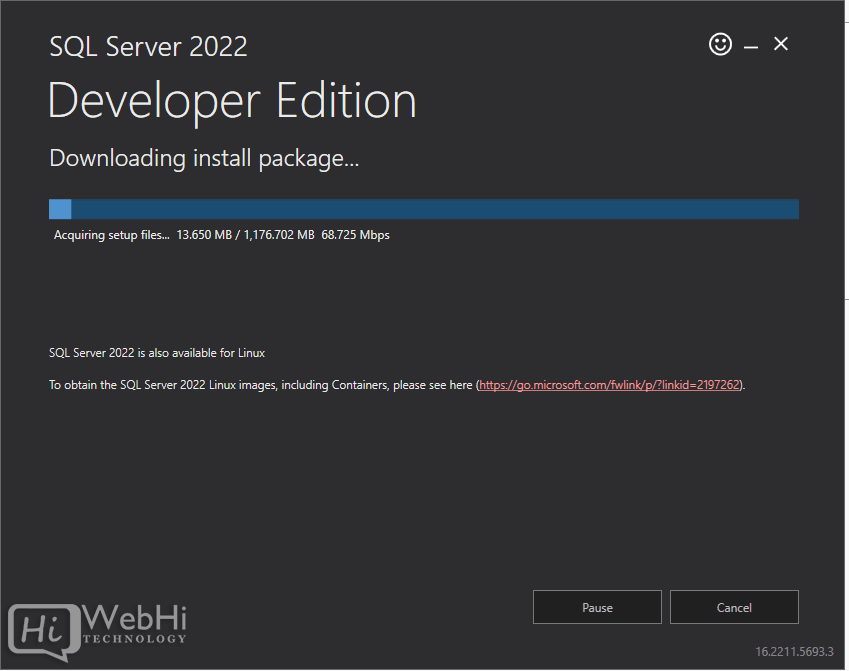
Wait for Download Completion:
Allow the download process to finish. The time required will depend on your internet connection speed.

-
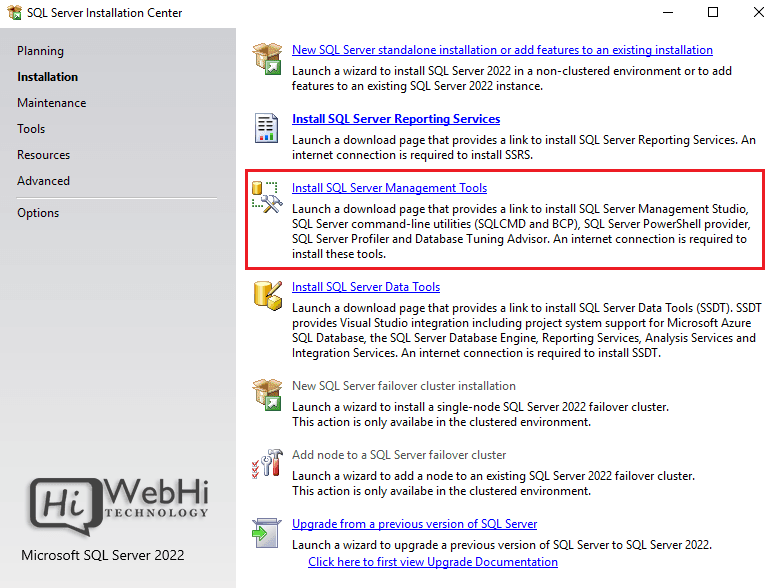
Launch SQL Server Installation Center:
Once the download is complete, the SQL Server Installation Center window will appear. In the "Installation" category, click the "New SQL Server stand-alone installation or add features to an existing installation" link to start the SQL Server installation wizard.

-
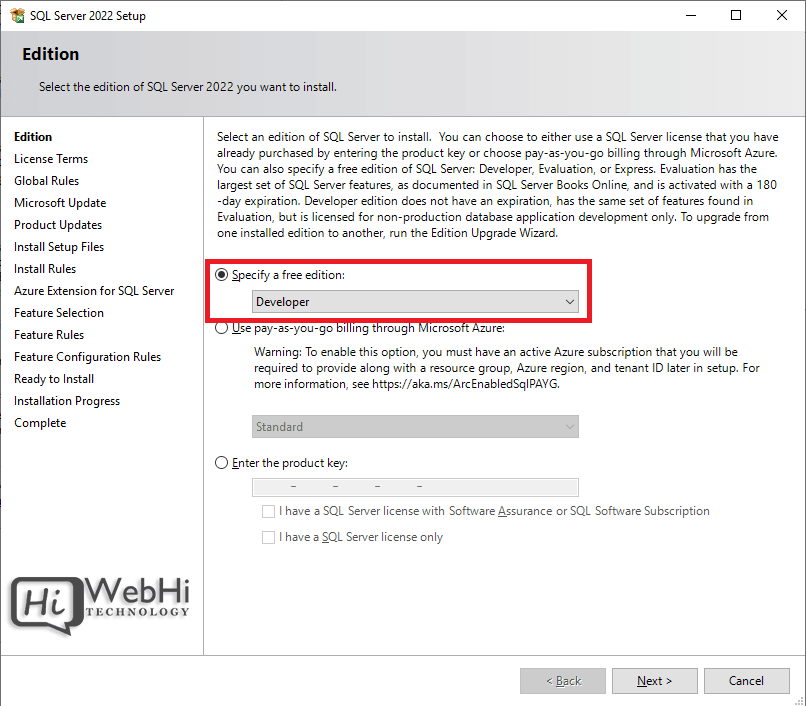
Select SQL Server Edition:
Choose the specific edition of SQL Server 2022 you intend to install (e.g., Evaluation, Developer, Express, Standard, or Enterprise). Your choice will depend on your licensing and feature requirements.

-
Accept License Terms:
Review and accept the license terms and privacy statement by checking the corresponding box. Click "Next" to continue.

-
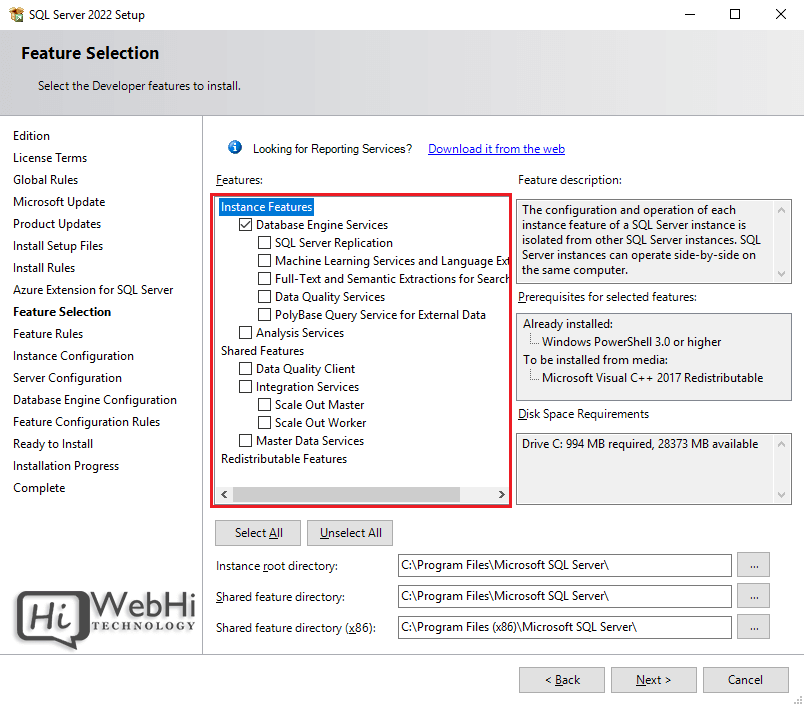
Feature Selection:
Choose the SQL Server features you want to install. At a minimum, select "Database Engine Services". Other useful features include "SQL Server Replication", "Full-Text and Semantic Extractions for Search", and "Client Tools Connectivity". Click "Next".

-
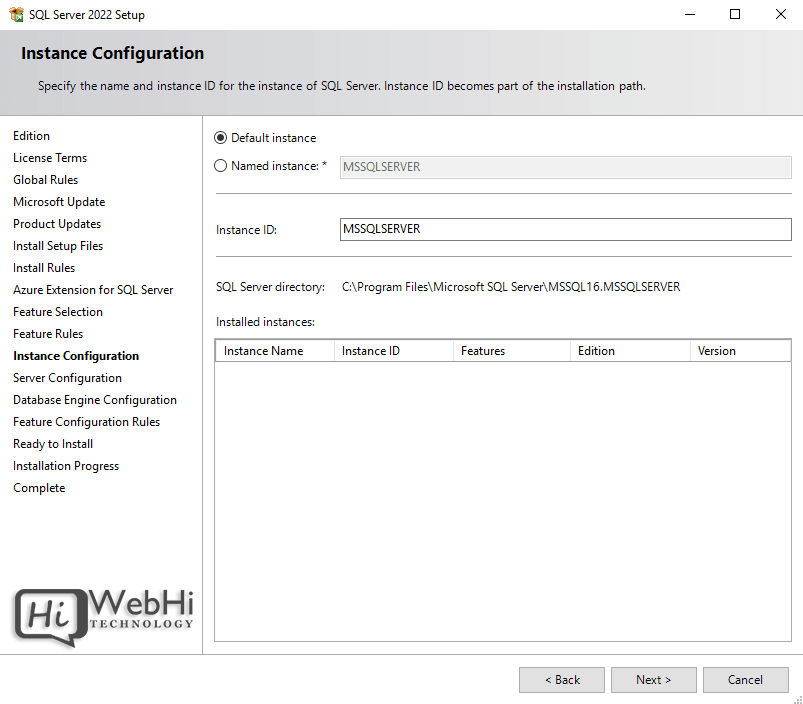
Instance Configuration:
Specify an instance name and ID. You can choose the default instance (MSSQLSERVER) or create a named instance. A named instance allows you to run multiple SQL Server instances on the same server. Click "Next".

-
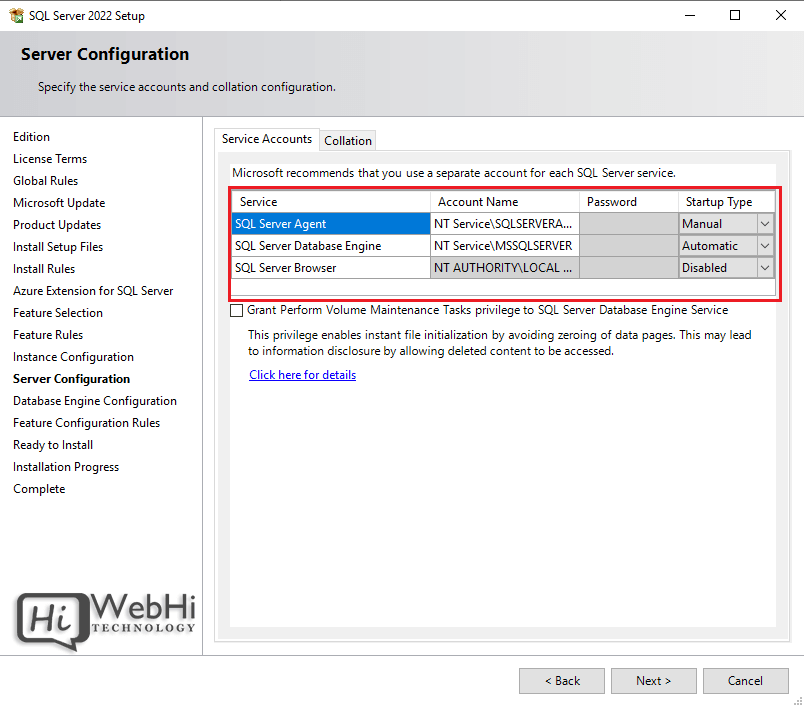
Server Configuration:
Configure the service accounts for the SQL Server services. You can typically use the default settings, but in some cases, you might want to specify domain accounts for enhanced security. Click "Next".

-
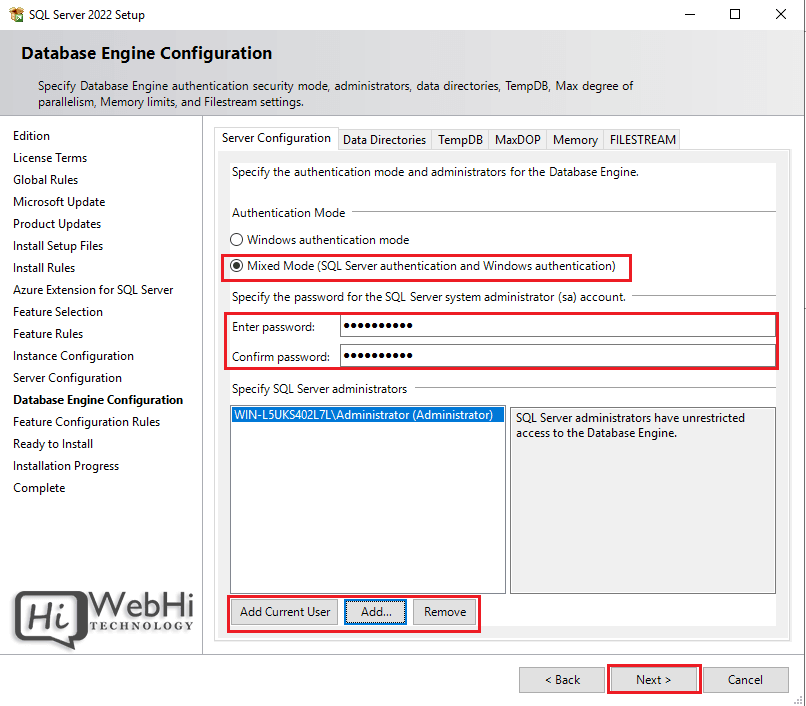
Database Engine Configuration:
In the "Database Engine Configuration" section, specify the authentication mode. Choose "Mixed Mode (SQL Server authentication and Windows authentication)". Set a strong password for the "sa" (system administrator) account. Add the current user as a SQL Server administrator for easy access. Click "Next".
-
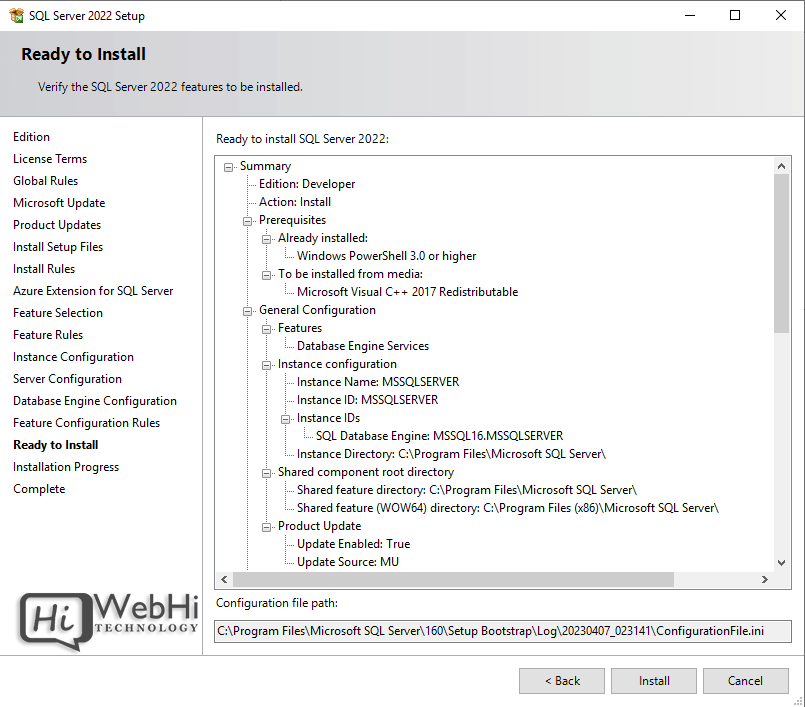
Ready to Install:
Review the installation summary. Click "Install" to begin the Installing SQL Server on Windows Server process.

-
Installation Progress:
Monitor the installation progress. This process can take some time.
-
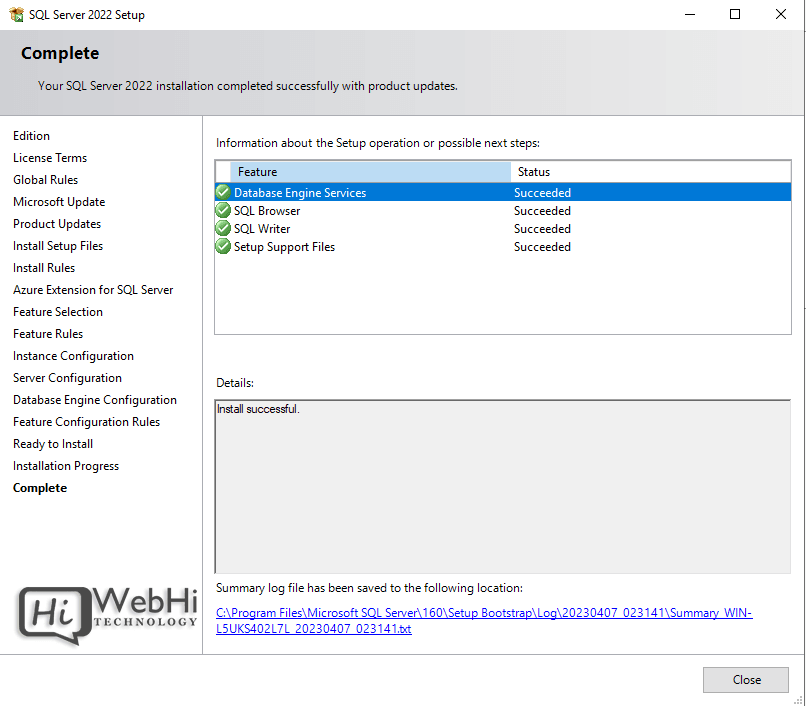
Installation Complete:
Once the installation is complete, you will see a summary of the installed components. Click "Close" to exit the SQL Server Installation Center.


Download And Install SQL Server Management Studio (SSMS)
SQL Server Management Studio (SSMS) is a graphical user interface (GUI) used to manage SQL Server instances.
-
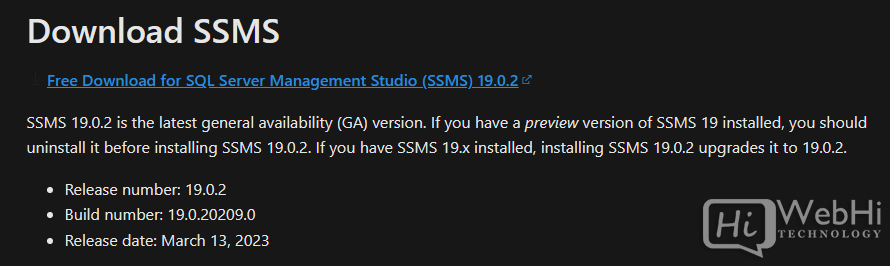
Download SSMS:
Use the SSMS download page and then click on Download SQL Server Management Studio (SSMS). Below you can see that this shows it is version 19.0.4.

-
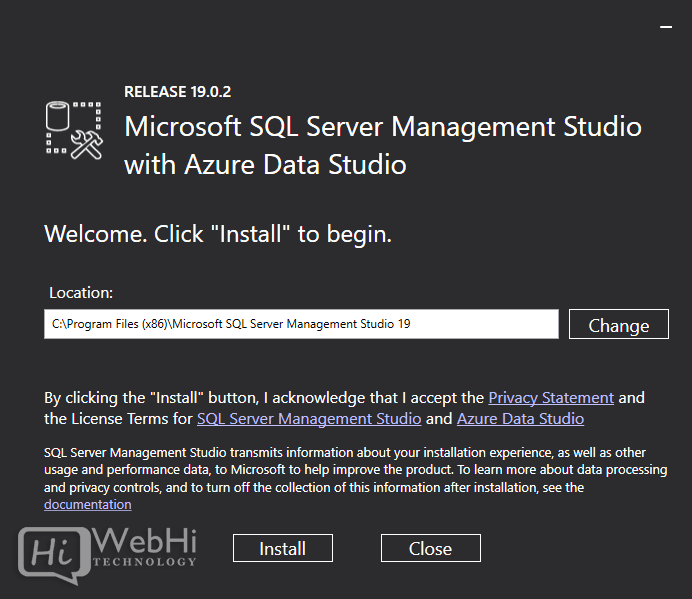
Install SSMS:
Once download finish, launch the downloaded .exe file.
On the next screen, you can use the default install location or change as needed.
Then click the Install button:

-
Complete Installation:
Once the installation is successful, you will be asked to Close:

Share this: