RDS: Deploying and Securing RDS/RDP on Windows Server
Remote Desktop Services (RDS), formerly known as Terminal Services, is a powerful technology integrated within the Windows Server operating system. It empowers multiple users to remotely access a shared desktop or individual applications. RDS enables organizations to centralize their applications and data, all while providing secure, efficient, and scalable remote access to users. This article offers a comprehensive guide, walking you through the process of deploying and securing Remote Desktop Services (RDS) and Remote Desktop Protocol (RDP) on a Windows Server.
Introduction
Remote Desktop Services is an invaluable tool for organizations seeking to provide remote access to applications and desktops while maintaining tight control and security over their resources. Before we delve into the deployment and security intricacies, let’s briefly highlight the core benefits of RDS:
- Centralized Management: RDS allows for centralized management of applications and desktops, simplifying administration and reducing IT overhead.
- Cost Savings: By sharing resources, RDS can significantly reduce hardware and software costs.
- Enhanced Security: RDS provides a secure environment for remote access, with centralized security policies and data protection.
- Improved Productivity: Users can access their applications and data from anywhere, improving productivity and flexibility.
- Scalability: RDS can easily scale to accommodate growing user demands.
Now, let’s embark on the step-by-step process of deploying and securing RDS/RDP on Windows Server.
PS: Make Sure You Install Active Directory Before this Installation You can Follow this Guide on How to Install Active Directory on Windows Server.
Deployment of RDS/RDP on Windows Server
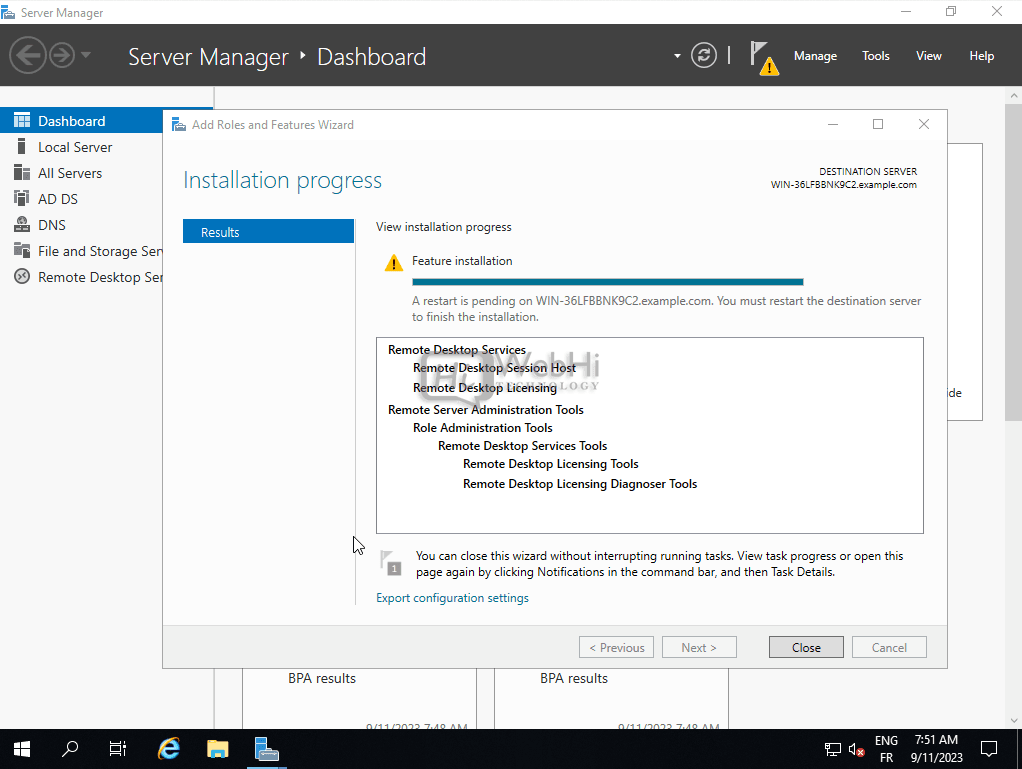
Step 1: Install the Remote Desktop Services Role
-
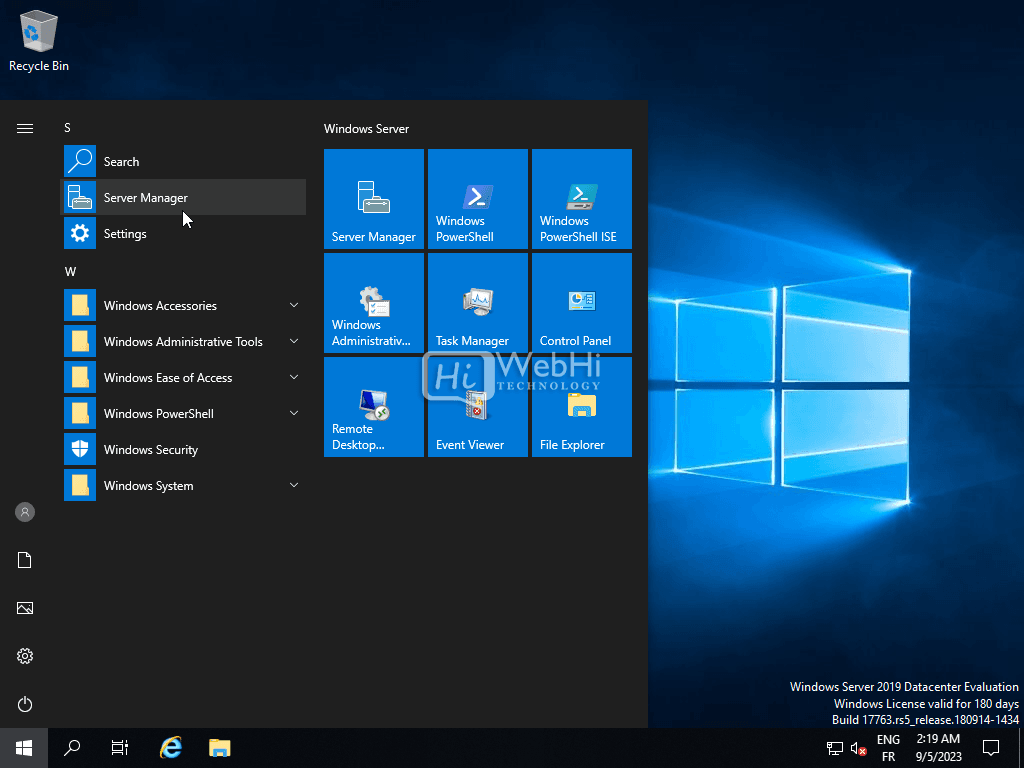
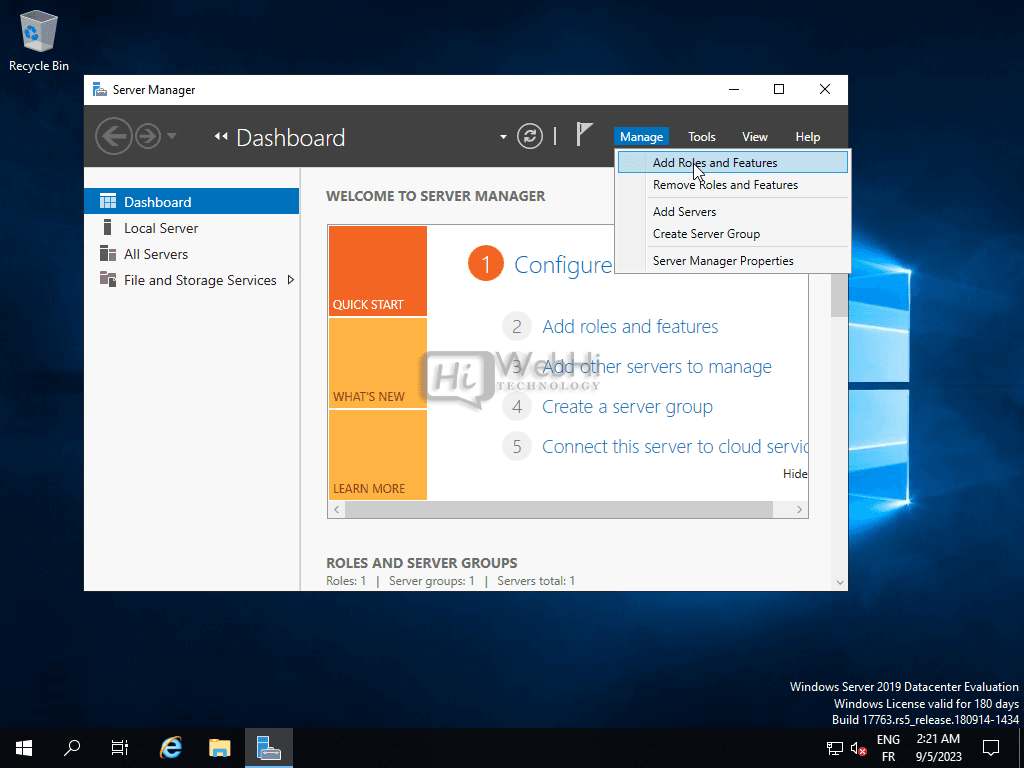
Open Server Manager.

-
Click on Add roles and features.
-
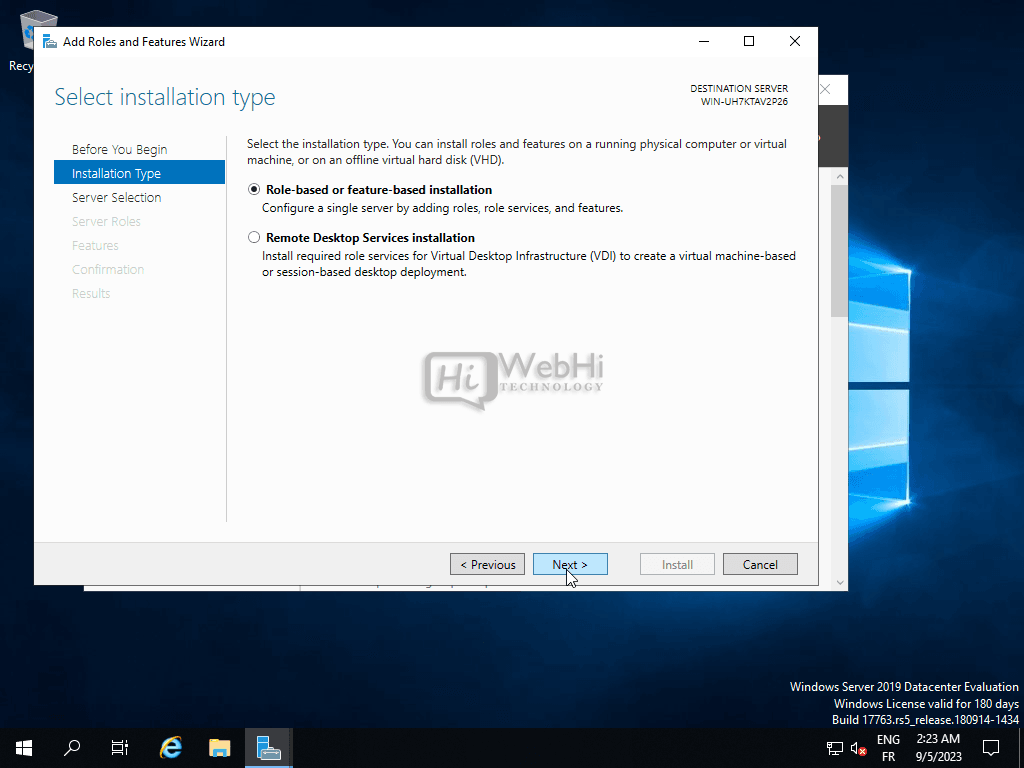
Select Role-based or feature-based installation.
-
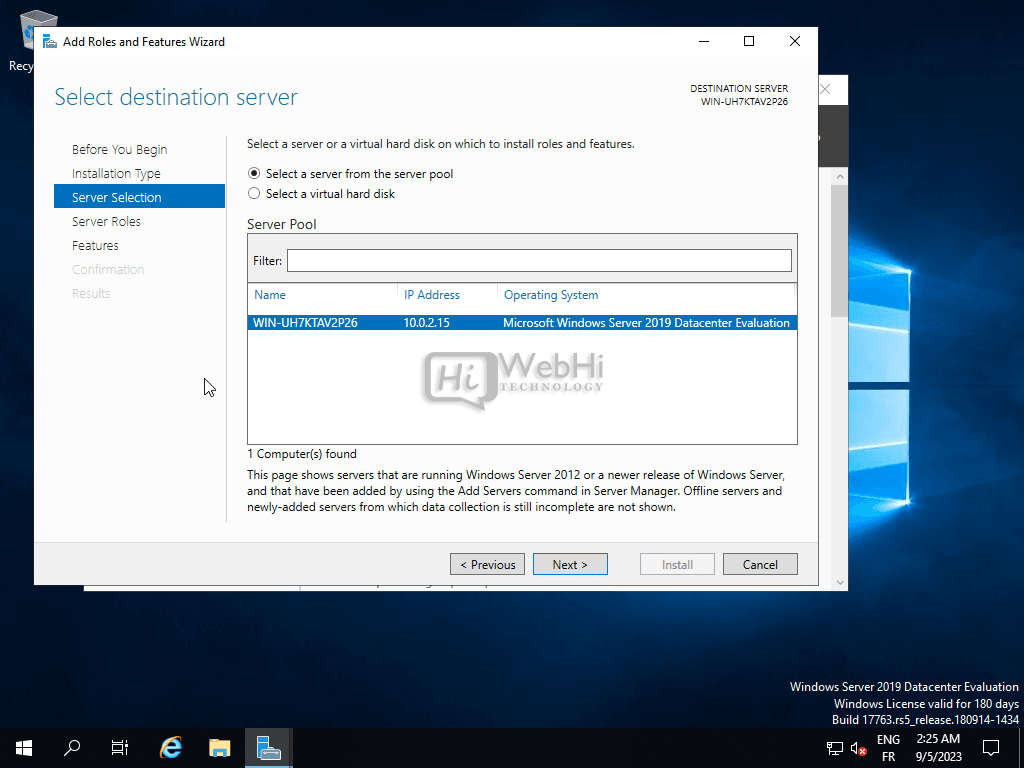
Select the destination server.
-
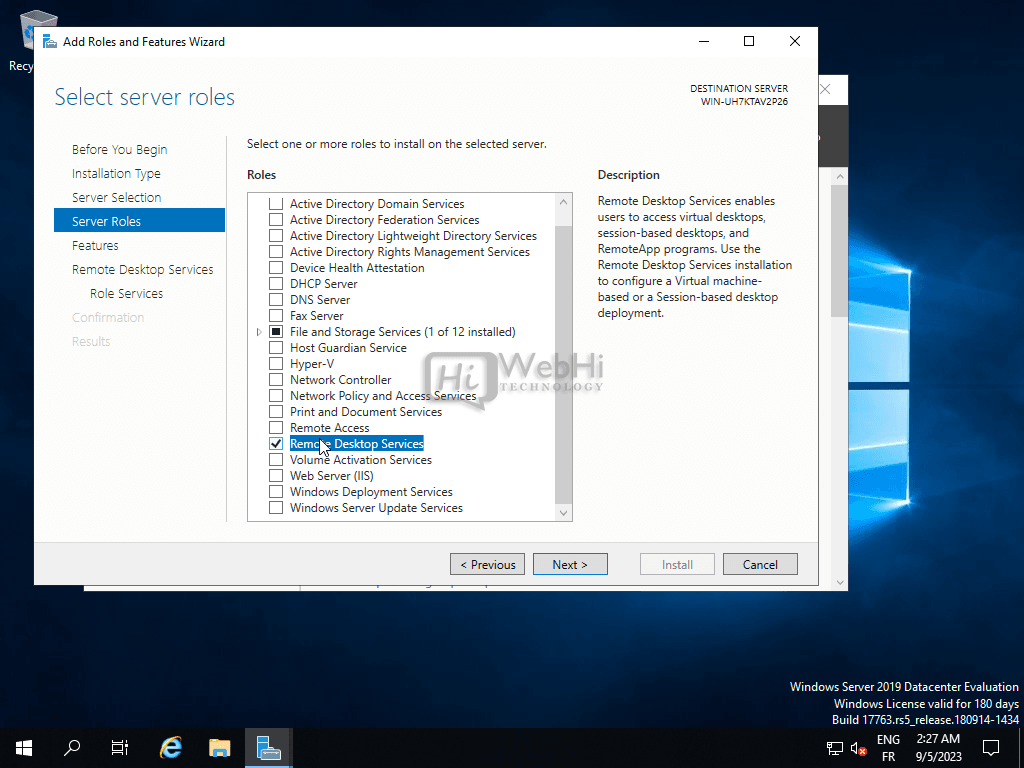
Select Remote Desktop Services.
-
Click Next through the Features page.
-
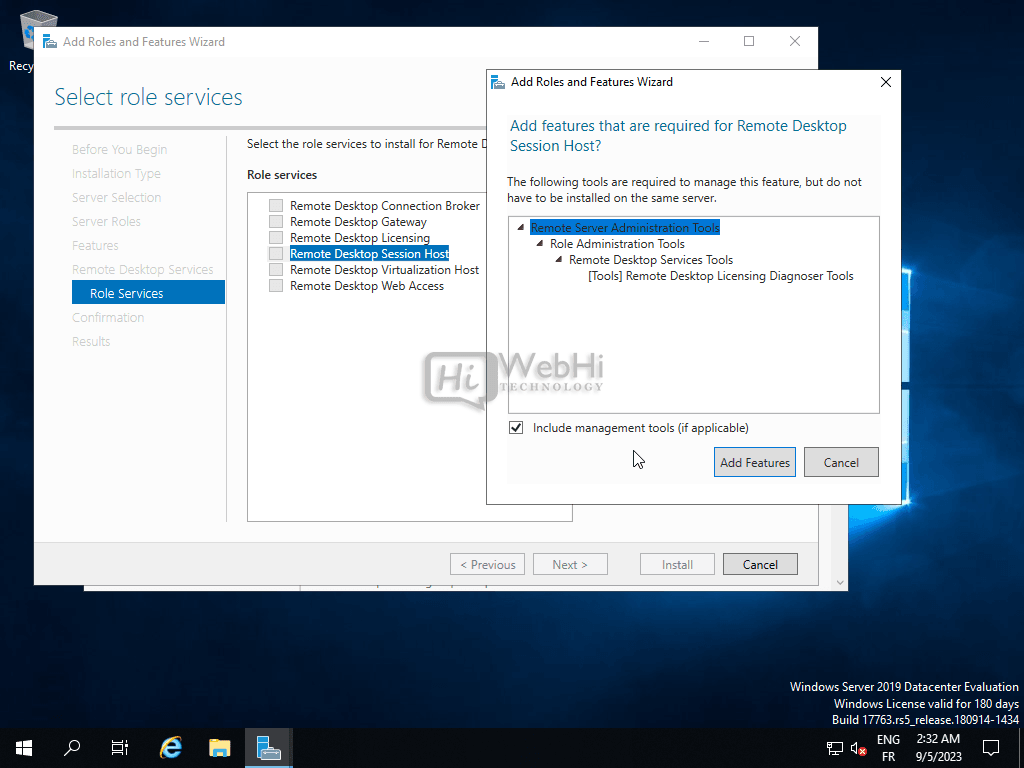
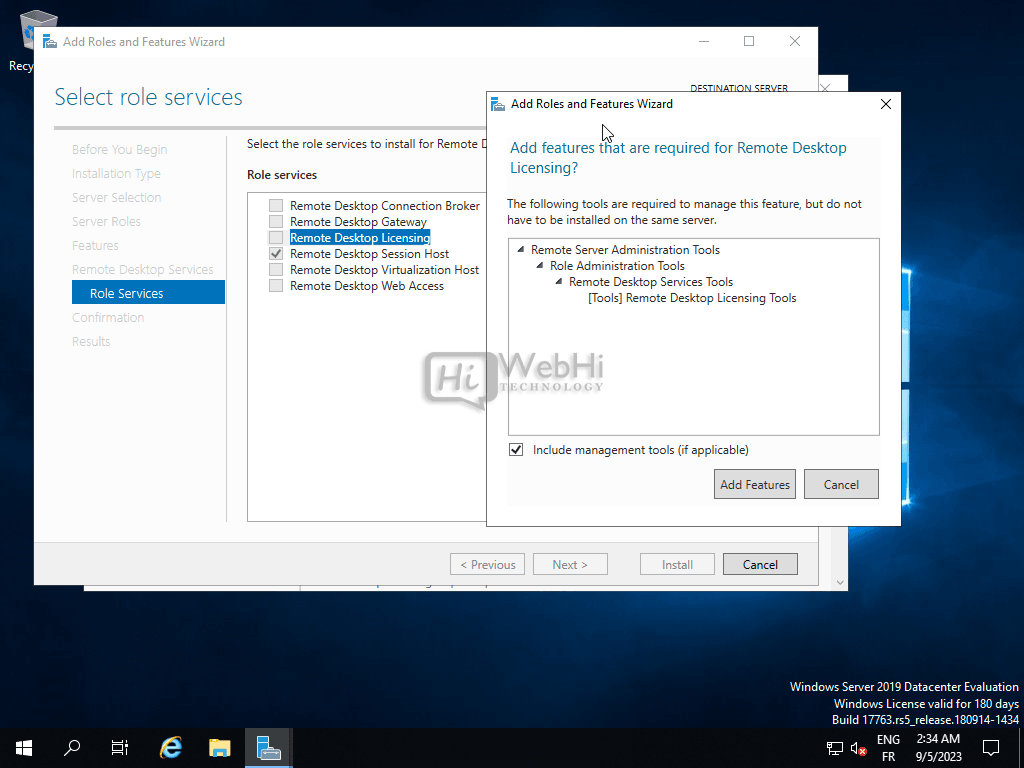
Select the desired role services, such as Remote Desktop Session Host and Remote Desktop Licensing.
-
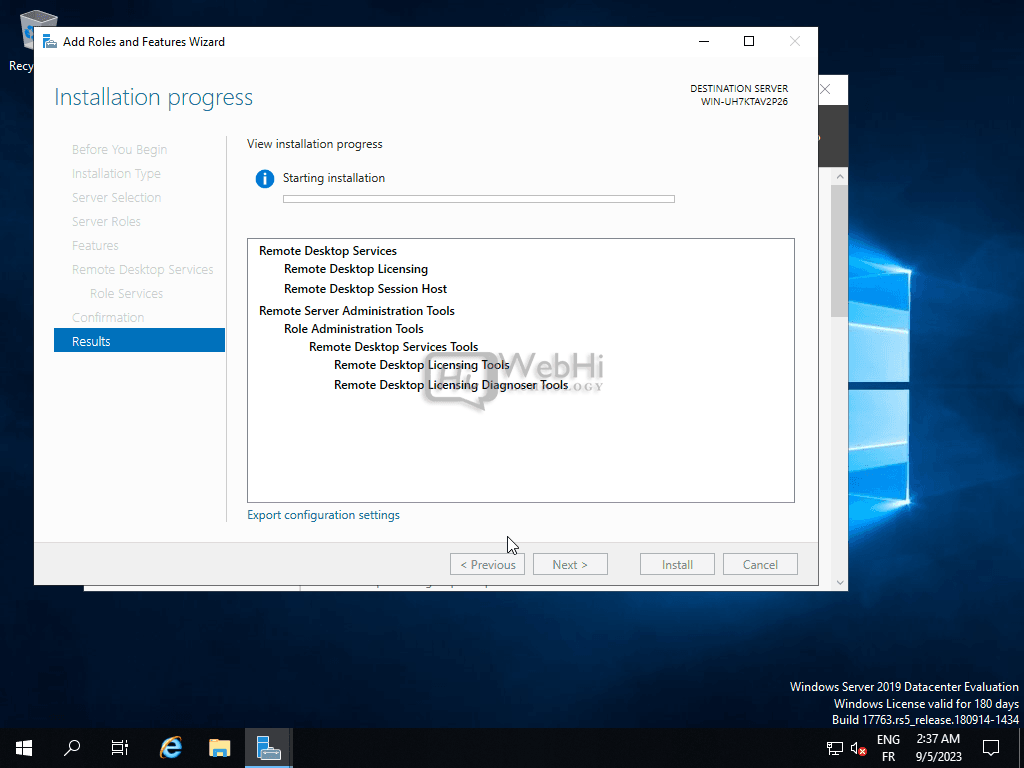
Confirm your selections and click Install.
-
Restart the server when prompted.


Step 2: Configure Remote Desktop Services
This step typically involves configuring licensing, session collection, and other settings through the Remote Desktop Services management tools. This is very dependent on your specific needs and network configuration.
Step 3: Publish Applications (Optional)
If you want to provide remote access to specific applications rather than full desktops, follow these steps:
- Open Server Manager and navigate to Remote Desktop Services.
- Click on Collections.
- Create a new collection, specifying the applications you want to publish.
- Assign users or groups to the collection.
Step 4: Test Remote Desktop Access
- From a client machine, open the Remote Desktop Connection client.
- Enter the IP address or hostname of the RDS server.
- Enter your credentials and connect.
Ensuring the security of your RDS deployment is crucial to protect sensitive data and prevent unauthorized access. Here are essential security steps:
Step 1: Enable Network Level Authentication (NLA)
- Open System Properties (type "sysdm.cpl" in the Run dialog).
- Go to the Remote tab.
- Check the box that says, "Allow connections only from computers running Remote Desktop with Network Level Authentication (recommended)."
Step 2: Secure Remote Desktop Gateway (RD Gateway)
If you’re using an RD Gateway, configure it with strong authentication methods, such as multi-factor authentication (MFA). This provides an extra layer of security for remote access.
Step 3: Firewall and Network Security
- Configure your firewall to allow RDP traffic only from specific IP addresses or networks.
- Use a VPN to create a secure tunnel between the client and the RDS server.
- Change the default RDP port (3389) to a non-standard port.
PS: To configure your firewall. You can follow this guide on How to configure Windows Server Firewall.
Step 4: User Access Control
- Grant users only the necessary permissions to access applications and data.
- Implement strong password policies and enforce regular password changes.
- Use account lockout policies to prevent brute-force attacks.
Step 5: Regular Updates and Patch Management
Keep your Windows Server operating system and RDS components up to date with the latest security patches and updates. This helps protect against known vulnerabilities.
Step 6: Monitoring and Logging
- Enable auditing and logging to track user activity and detect potential security breaches.
- Regularly review logs for suspicious activity.
- Implement intrusion detection and prevention systems (IDS/IPS).
Alternative Solutions for Remote Access
While RDS is a powerful solution, other options exist for providing remote access to applications and desktops. Here are two alternative approaches:
1. Virtual Desktop Infrastructure (VDI)
VDI provides each user with their own virtual machine (VM) running on a central server. This approach offers several advantages over RDS:
- Isolation: Each user has a dedicated VM, providing better isolation and security.
- Customization: Users can customize their VMs to their specific needs.
- Performance: VDI can offer better performance for resource-intensive applications.
Explanation:
VDI works by creating a pool of virtual machines on a hypervisor (like Hyper-V or VMware vSphere). Users connect to these VMs using a remote display protocol. The VMs are managed centrally, allowing for easy provisioning, patching, and maintenance.
Code Example (PowerShell to create a new VM in Hyper-V):
New-VM -Name "UserVM01" -MemoryStartupBytes 4GB -NewVHDPath "C:VMsUserVM01.vhdx" -NewVHDSizeBytes 40GB -Generation 2
Set-VMProcessor -VMName "UserVM01" -Count 2
Add-VMNetworkAdapter -VMName "UserVM01" -Name "Network Adapter" -SwitchName "ExternalSwitch"
This code snippet demonstrates how to create a basic VM using PowerShell in Hyper-V. Adapt the paths, memory, and other parameters to suit your needs.
2. Cloud-Based Desktops (DaaS – Desktop as a Service)
DaaS is a cloud computing offering where a third-party provider hosts and manages virtual desktops. This approach eliminates the need for on-premises infrastructure:
- Scalability: Easily scale your desktop infrastructure up or down as needed.
- Accessibility: Access desktops from anywhere with an internet connection.
- Cost Savings: Reduce capital expenditures and IT overhead.
Explanation:
DaaS providers handle the complexities of managing the virtual desktop infrastructure, including hardware, software, security, and updates. Users simply connect to their desktops using a remote display protocol.
Example of a DaaS provider API call (Conceptual – depends on provider):
{
  "action": "create_desktop",
  "desktop_name": "NewUserDesktop",
  "image_id": "Windows10-BaseImage",
  "user_id": "user123",
  "resource_group": "RG1"
}
This JSON represents a hypothetical API call to a DaaS provider to create a new desktop for a specific user. The actual API and parameters will vary depending on the DaaS provider.
Conclusion
Deploying and securing Remote Desktop Services (RDS) and Remote Desktop Protocol (RDP) on Windows Server can greatly benefit organizations by providing efficient and secure remote access to applications and desktops. However, ensuring the security of your RDS deployment is paramount to protect your data and resources. By following the steps outlined in this guide, you can create a robust and secure RDS environment tailored to your organization’s needs. Furthermore, considering VDI or DaaS solutions may be beneficial depending on specific security, scalability, and management requirements.
Remember that security is an ongoing process, and it’s essential to stay vigilant, monitor for threats, and keep your RDS infrastructure up to date with the latest security patches and best practices. Choosing the right remote access solution requires careful consideration of your organization’s unique requirements and resources. RDS, VDI, and DaaS all offer compelling benefits and trade-offs.