Installing and Configuring a DNS Server on Windows Server
The Domain Name System (DNS) is a crucial component of the TCP/IP protocol suite that maps human-readable domain names to IP addresses. It enables seamless communication between computers on a network or the internet. In this guide, we’ll walk through the steps to install and configure a DNS Server on Windows Server 2019. Setting up a DNS Server is a fundamental task for network administrators.
Prerequisites
Before proceeding, ensure that your Windows Server 2019 has a static IP address configured. A static IP address is required for the DNS Server to function correctly.
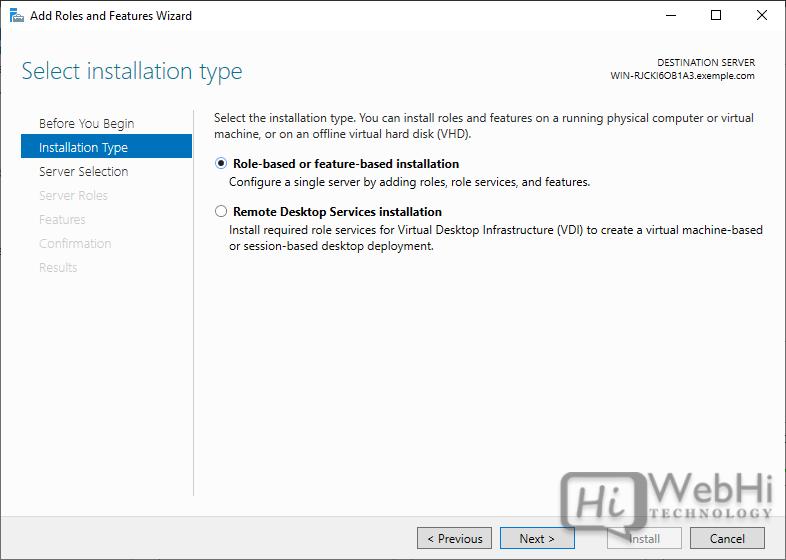
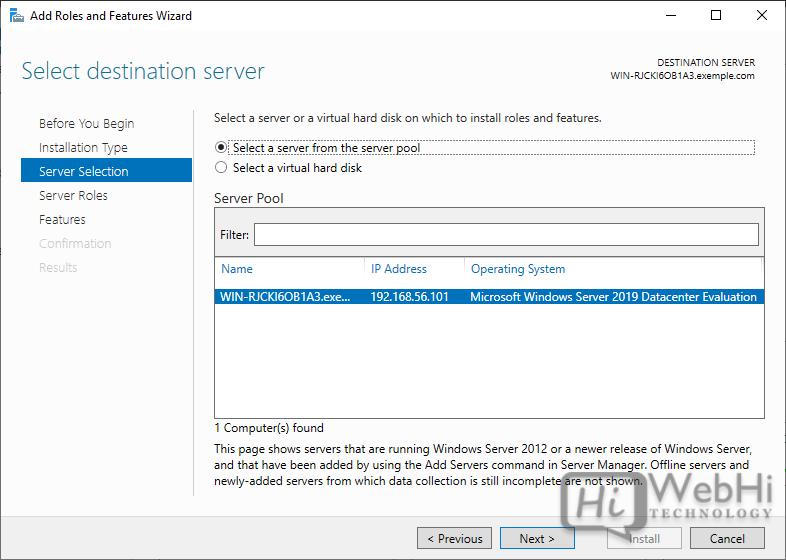
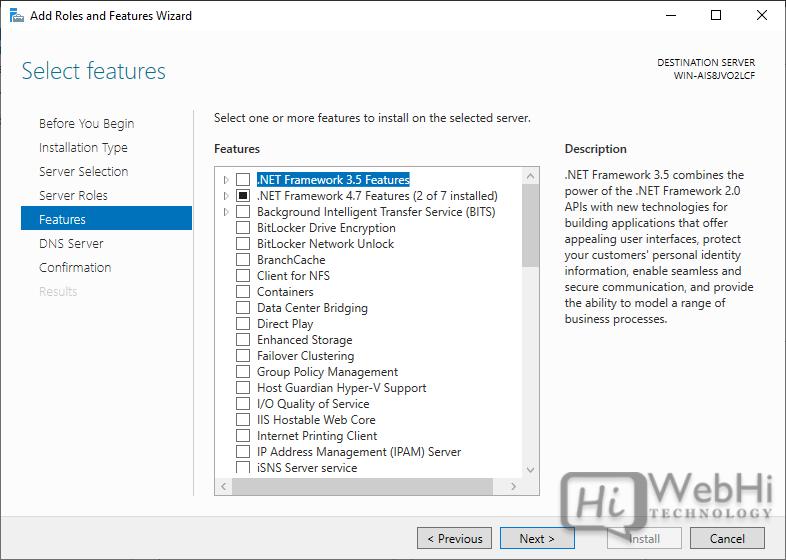
Step 1: Install the DNS Server Role
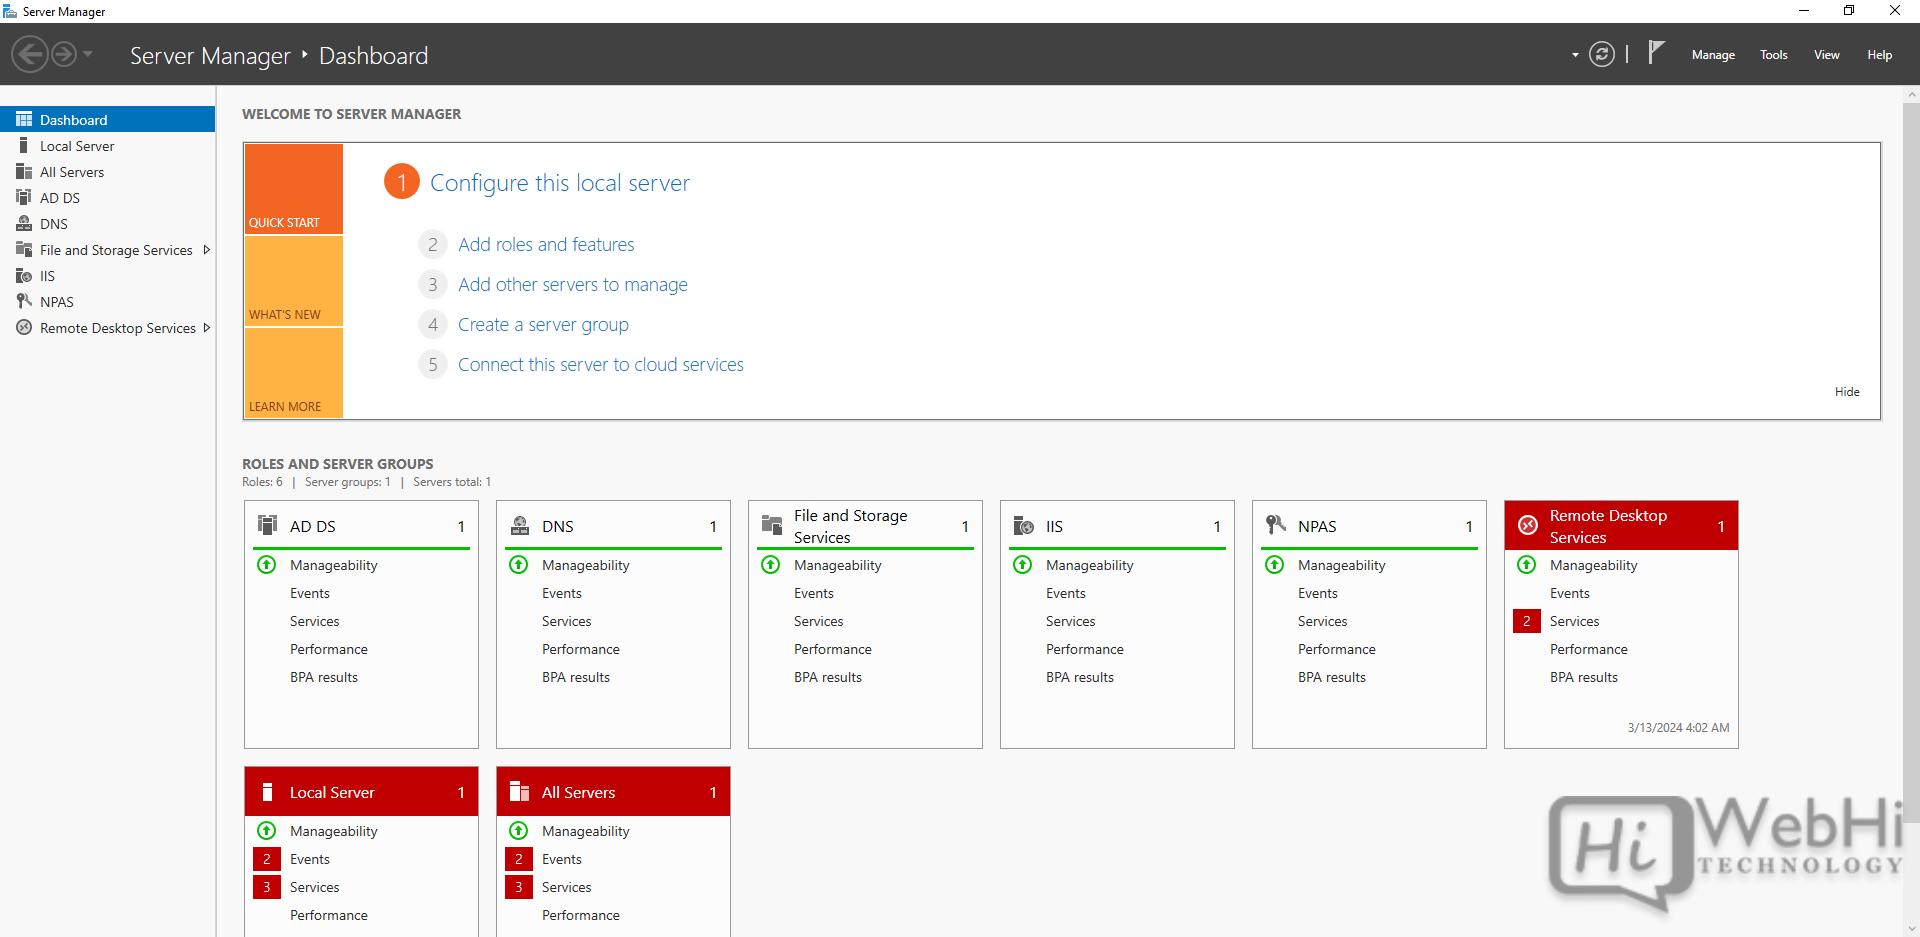
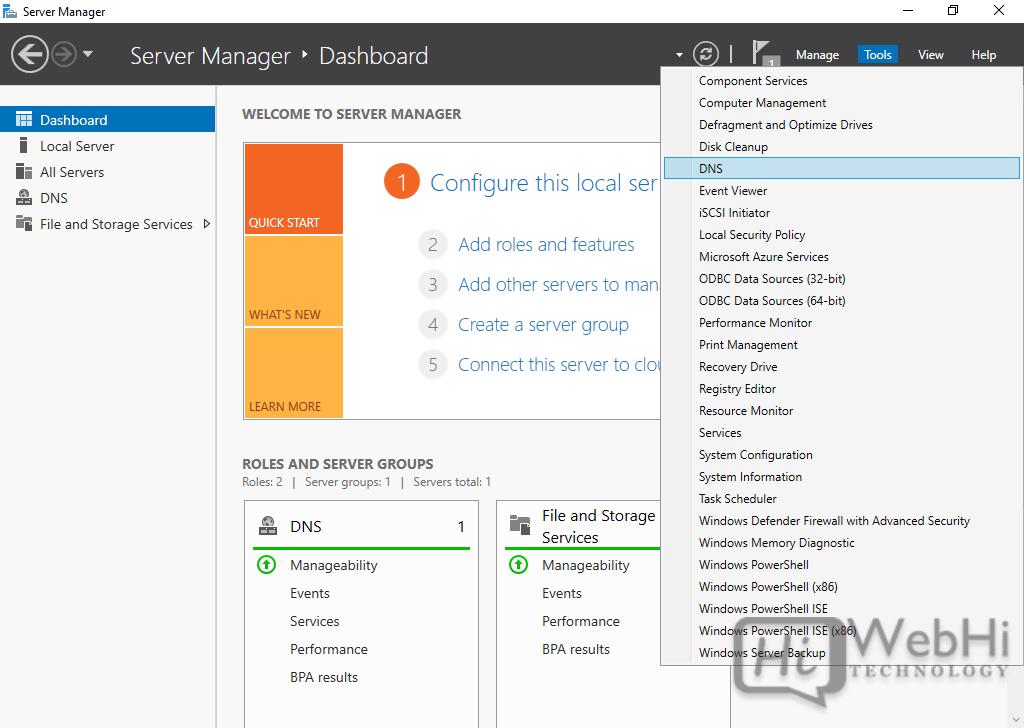
1. Open the Server Manager.
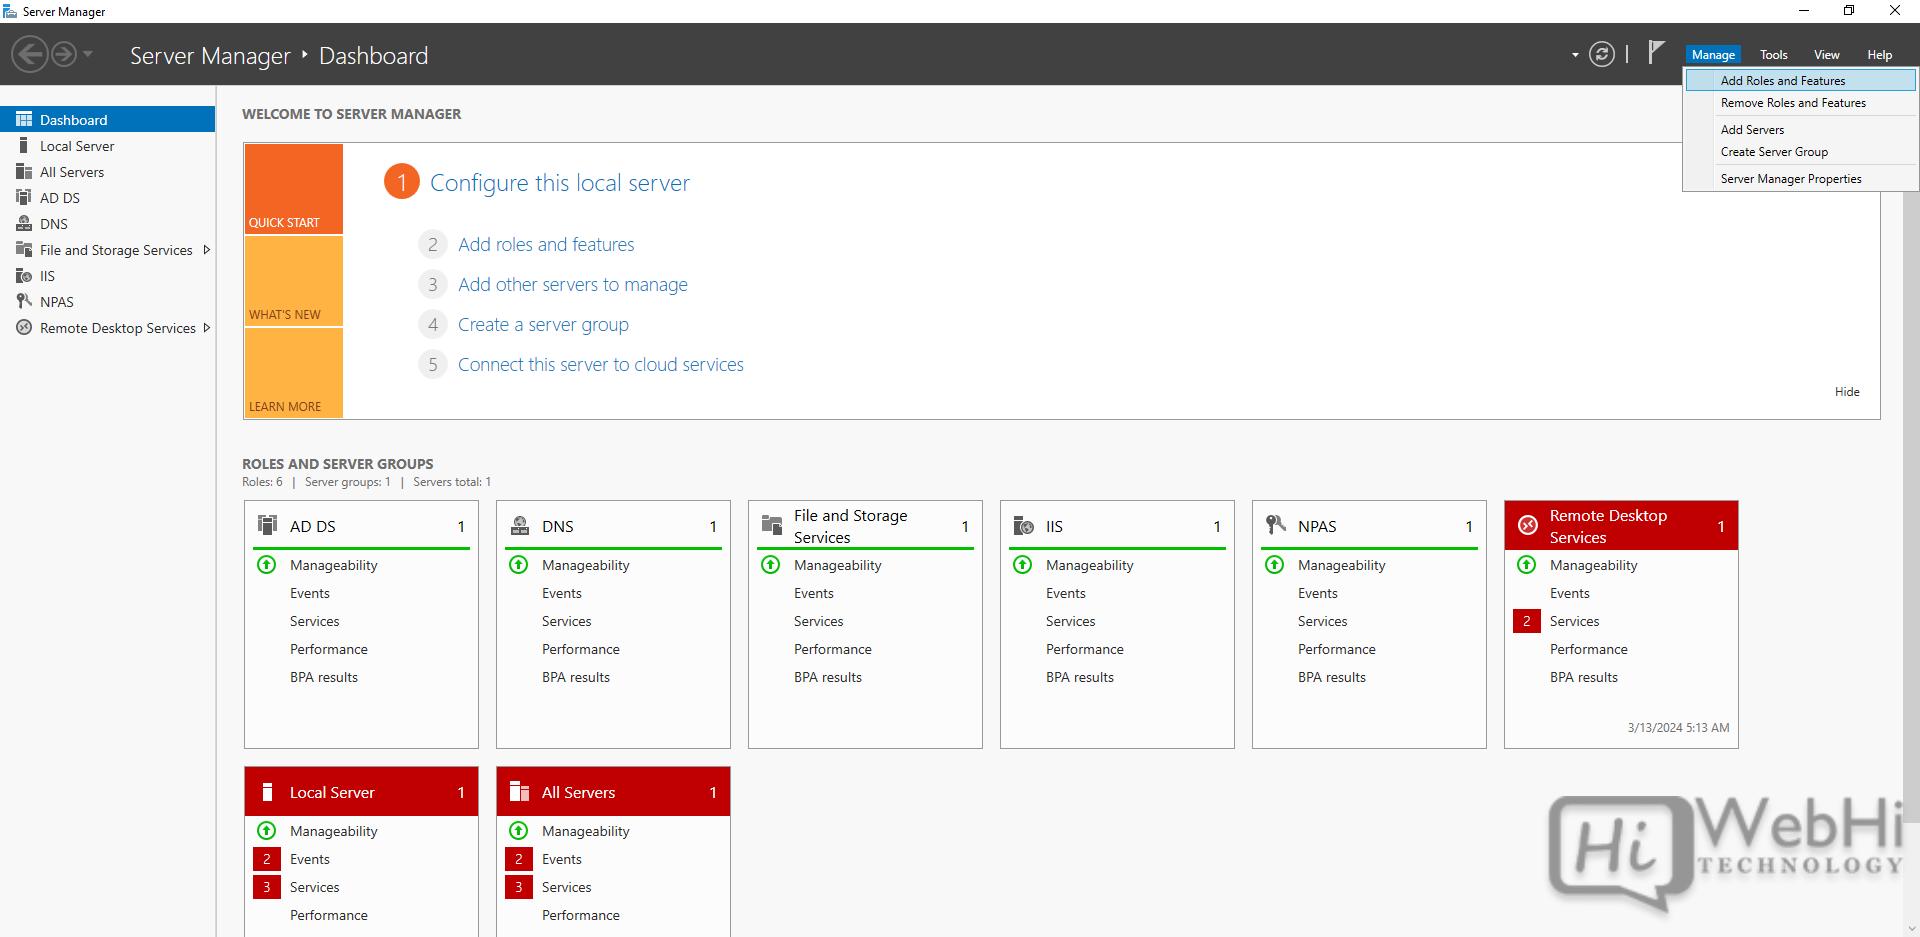
2. Navigate to the “Manage” menu and select “Add Roles and Features.”
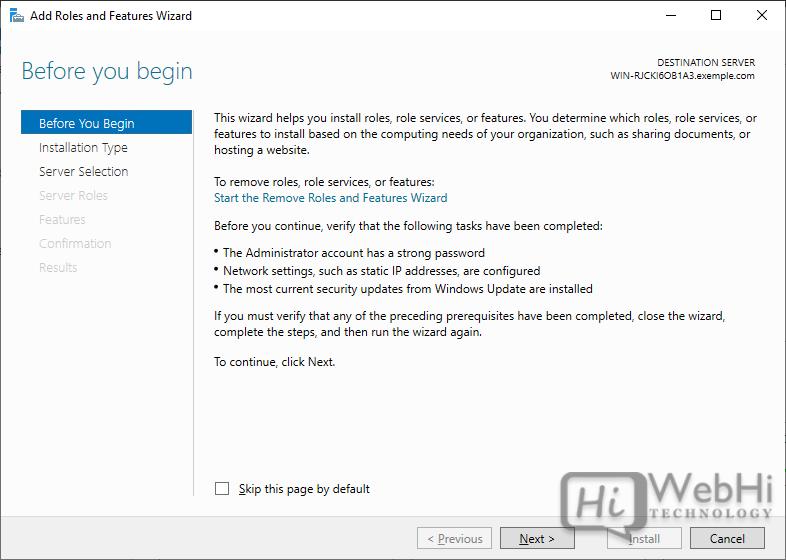
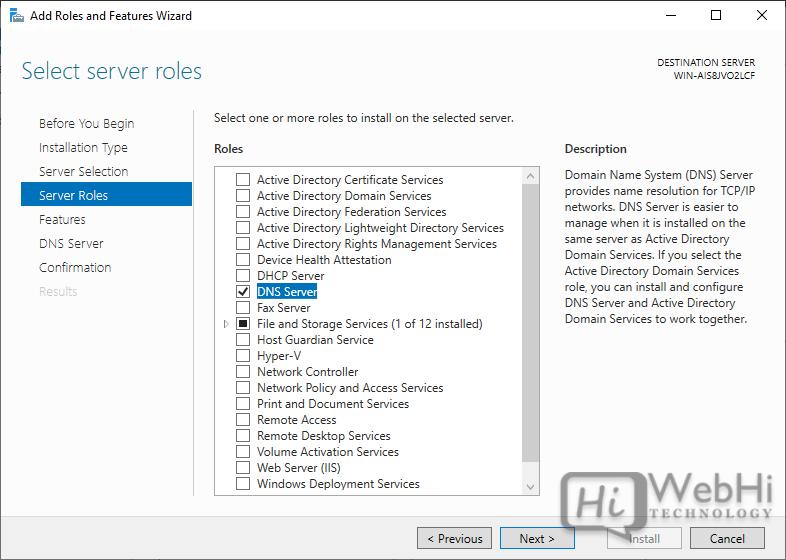
3. In the “Add Roles and Features Wizard,” click “Next” until you reach the “Server Roles” page.
4. Select the “DNS Server” role from the list of available roles.
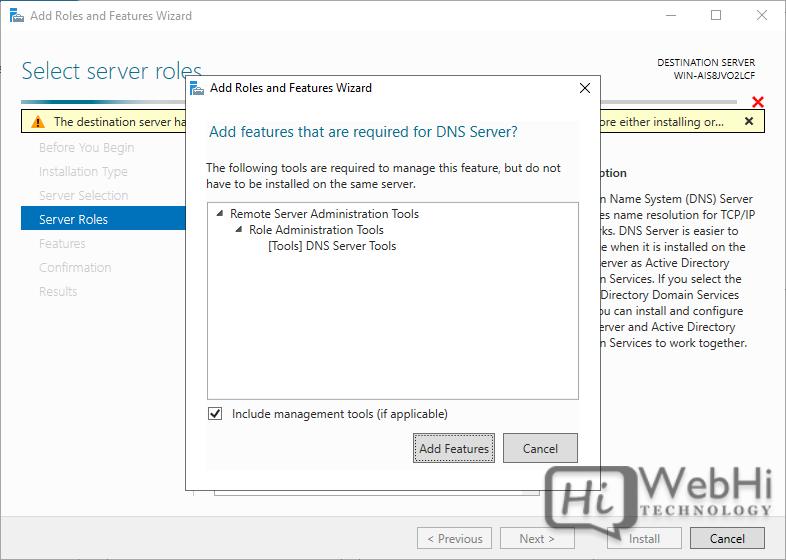
5. Click “Add Features” when prompted, and then click “Next.”
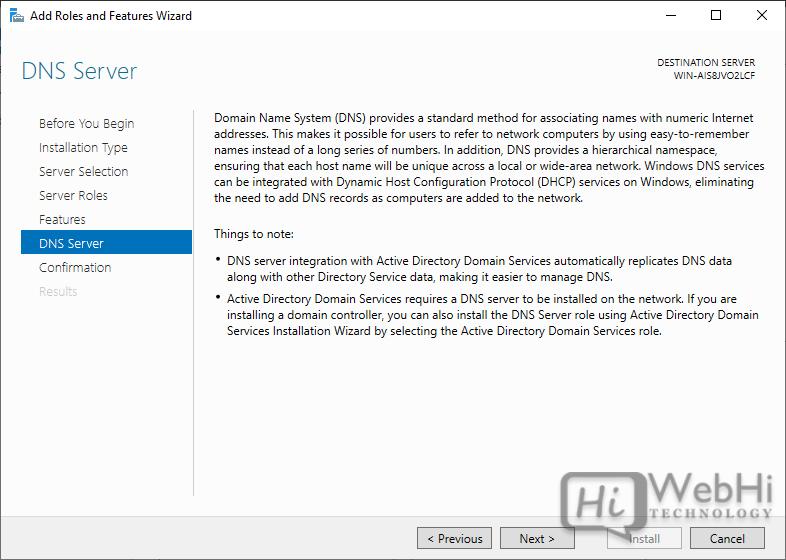
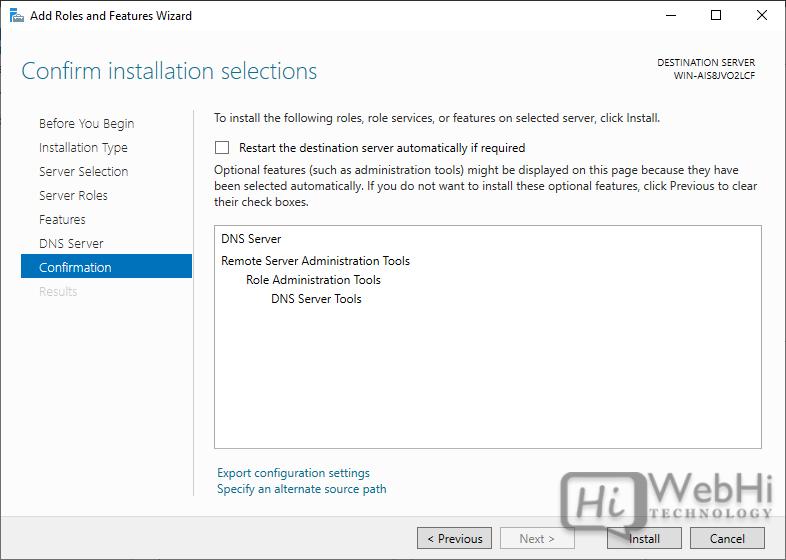
6. Proceed through the remaining prompts, confirming the installation selections.
7. Click “Install” to begin the installation process.
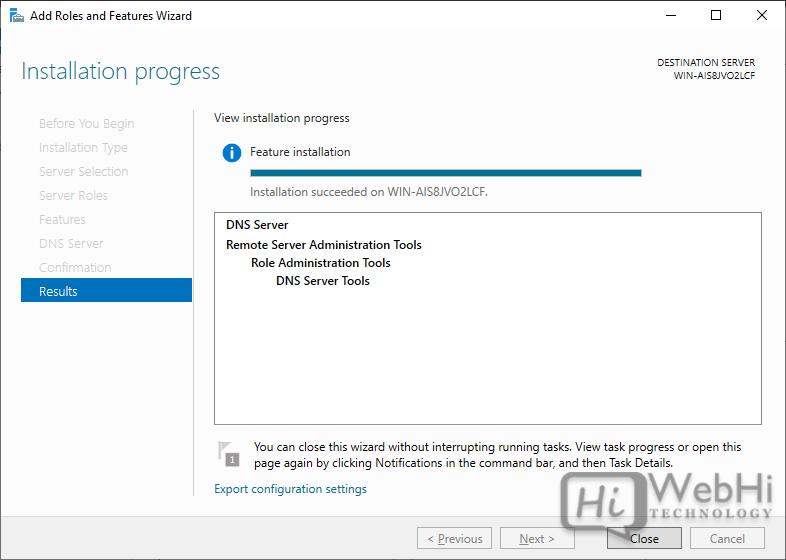
8. Wait for the installation to complete, and then click “Close.”
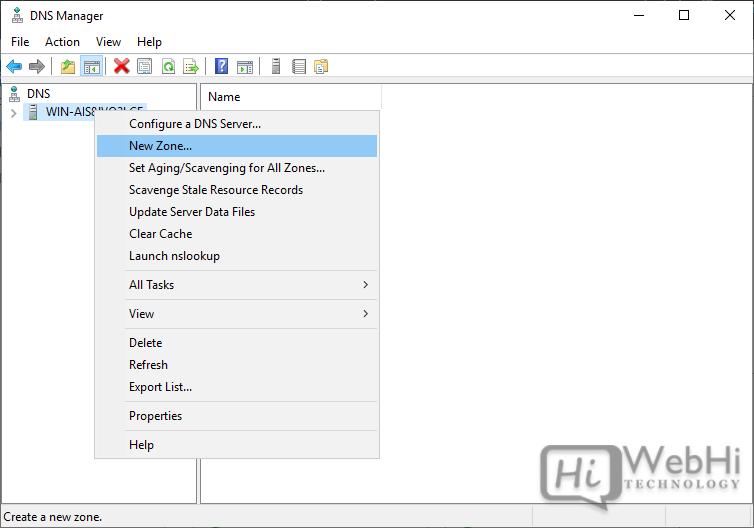
Step 2: Configure DNS Forward Lookup Zone
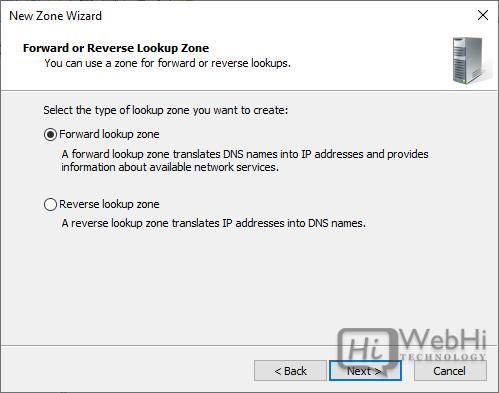
With the DNS Server installed, you can now configure a DNS Forward Lookup Zone. A Forward Lookup Zone requests the IP address that corresponds to a fully qualified domain name (FQDN). When you type a domain name like “example.com” in your browser, the DNS Forward Lookup Zone translates that FQDN to the IP address of the server hosting that site.
Follow these steps to add a DNS Forward Lookup Zone:
2. Right-click your server name and choose “New Zone…” to open the New Zone Wizard.
3. Click “Next” on the first Wizard screen.
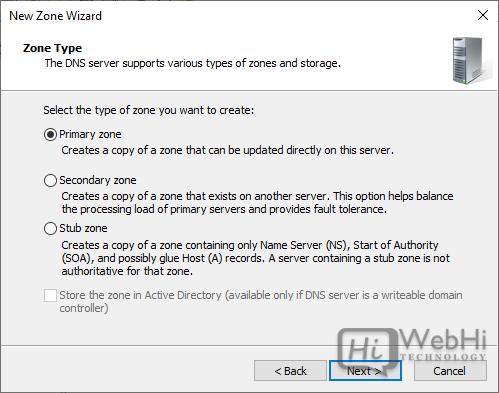
4. Choose the “Primary Zone” option and click “Next.”
5. Select “Forward Lookup Zone” and click “Next.”