Installing and Configuring an SSL Certificate in Microsoft Exchange Server
This tutorial provides a comprehensive guide on how to install and configure an SSL certificate within your Microsoft Exchange Server environment. Securing your Exchange server with an SSL certificate is crucial for encrypting communication and ensuring the privacy and integrity of data transmitted between your server and clients. This is especially important for email communication, which often contains sensitive information. This guide is applicable for Exchange Server versions 2013, 2016, and 2019. Let’s explore the process of installing and configuring an SSL Certificate in Microsoft Exchange Server.
Why is SSL Important for Exchange Server?
Before diving into the installation process, it’s important to understand why SSL certificates are essential for Exchange Server. SSL (Secure Sockets Layer) and its successor, TLS (Transport Layer Security), create an encrypted connection between a web server and a web browser. For Exchange Server, this encryption protects sensitive data, such as usernames, passwords, email content, and calendar information, as it travels across the internet. Without SSL, this data could be intercepted and read by malicious actors. Installing and configuring an SSL Certificate in Microsoft Exchange Server can safeguard your organization’s data.
Step 1: Generate the Certificate Signing Request (CSR)
The first step in obtaining an SSL certificate is to generate a Certificate Signing Request (CSR). This request contains information about your organization and the domain you wish to secure. The CSR is then submitted to a Certificate Authority (CA) to request the SSL certificate. Here’s how to generate a CSR using the Exchange Admin Center (EAC):
-
Access the Exchange Admin Center (EAC): Open a web browser and navigate to the URL of your Exchange server to access the EAC. This is typically in the format
https://CASServerName/ecp, whereCASServerNameis the name of your Client Access Server. -
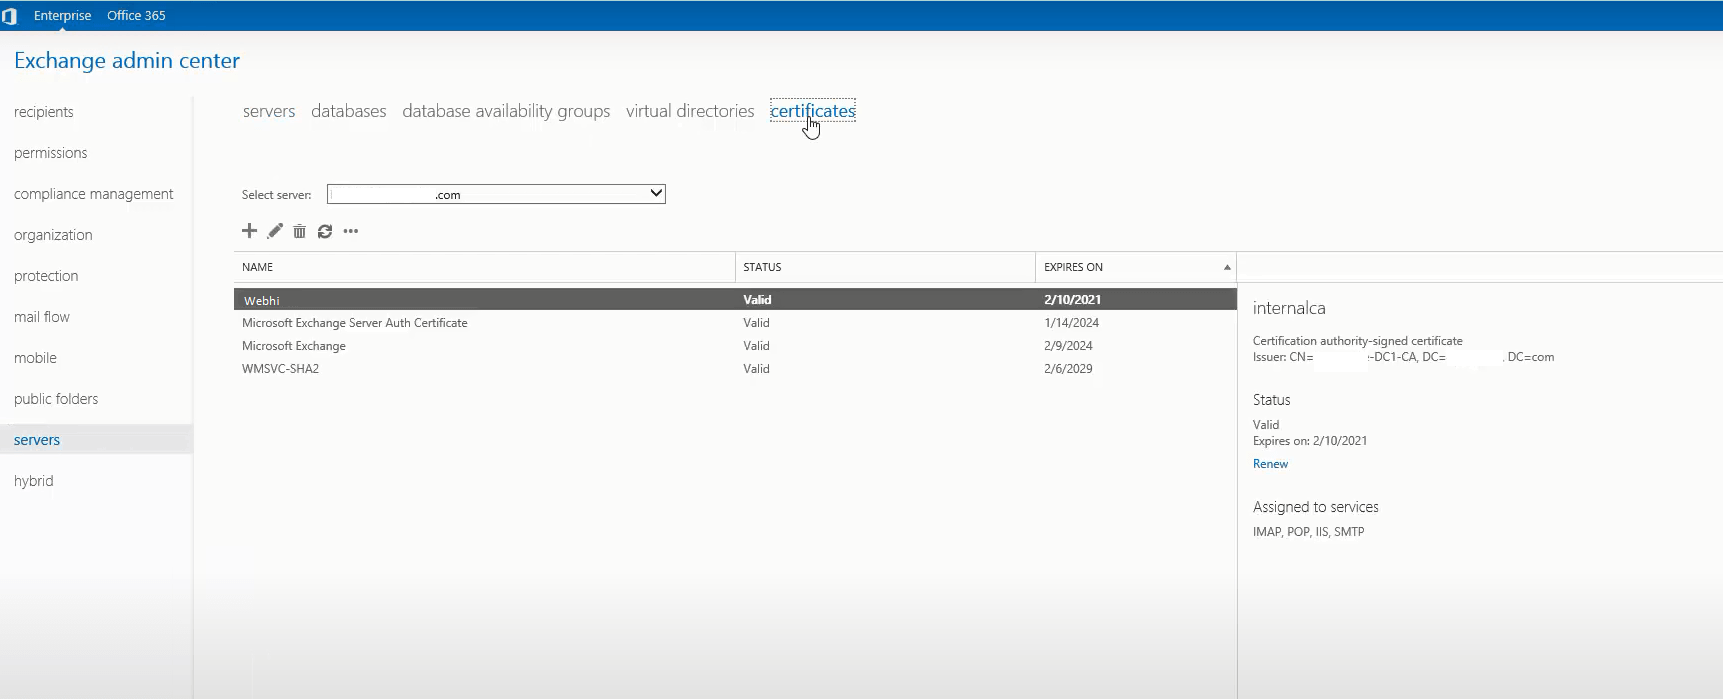
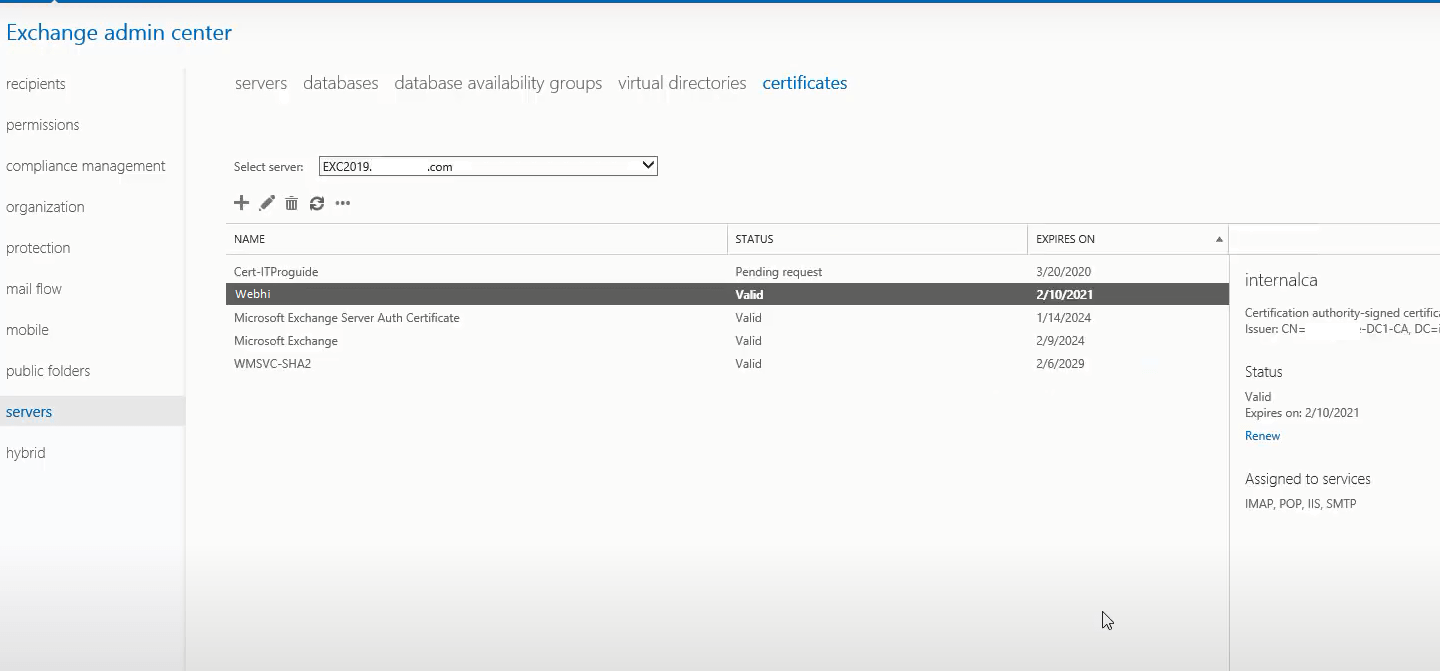
Navigate to Certificates: In the EAC, click Servers in the left-hand sidebar menu, and then select Certificates in the top menu.

-
Create a New Certificate Request: Select your Exchange server from the Select server drop-down box on the Certificates page, then click the Plus symbol (+). This will open the New Exchange Certificate wizard.
-
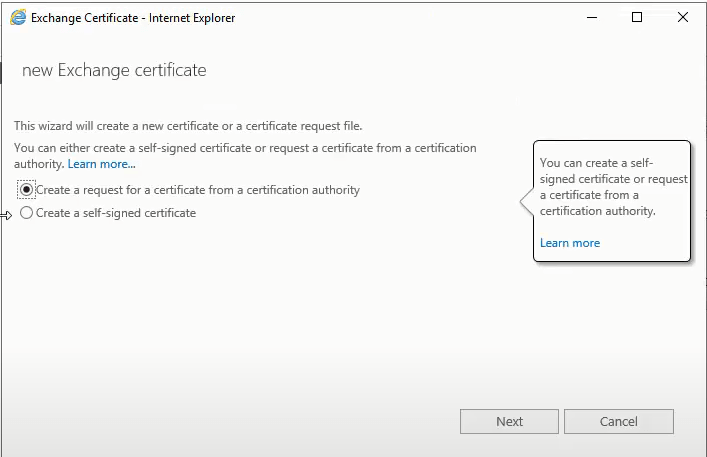
Choose CSR Creation: Select Create a request for a certificate from a certification authority in the new Exchange certificate wizard, then click Next.

-
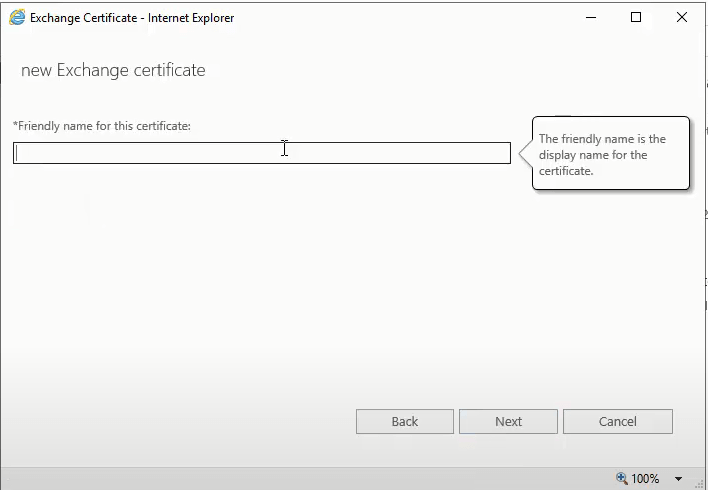
Friendly Name: Enter a descriptive name for the certificate in the Friendly name for this certificate: box. This name is for your internal reference only and does not affect the certificate itself. Click Next.

-
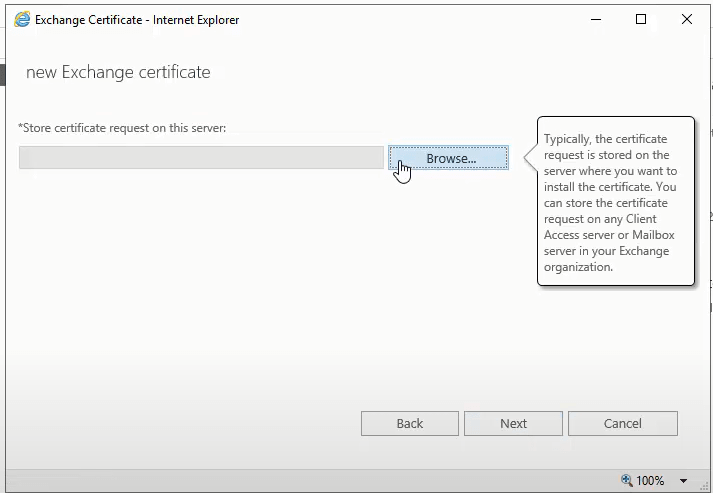
Wildcard Certificate (Optional): If you need to secure multiple subdomains (e.g., mail.example.com, autodiscover.example.com), you can choose to create a wildcard certificate. However, in this example, we’ll skip this option. Click Browse in the Store certificate request on this server box.

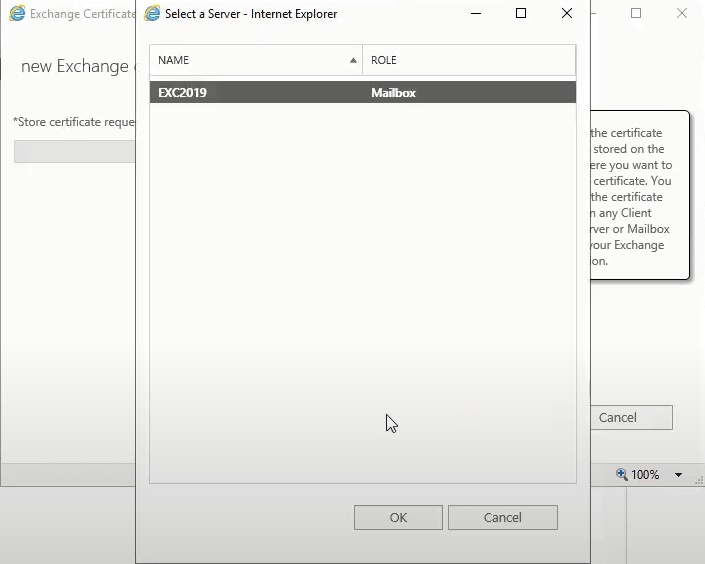
-
Server Selection: Pick the Exchange server on which you want to store the certificate request and click Next.

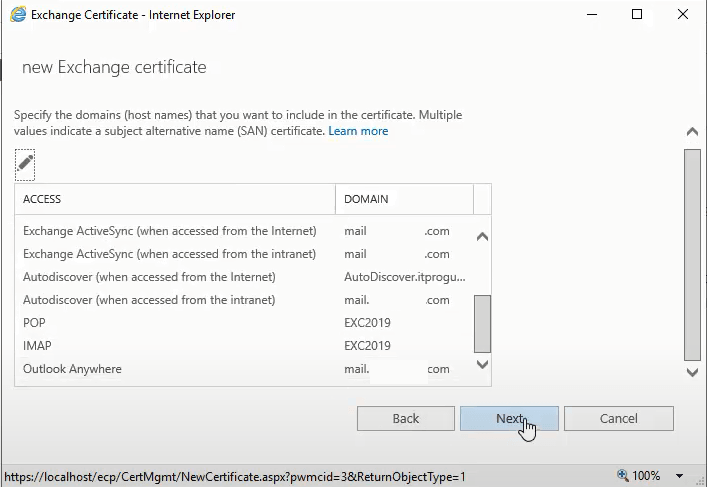
-
Specify Domains: Choose the domain(s) to be included in the SSL certificate.

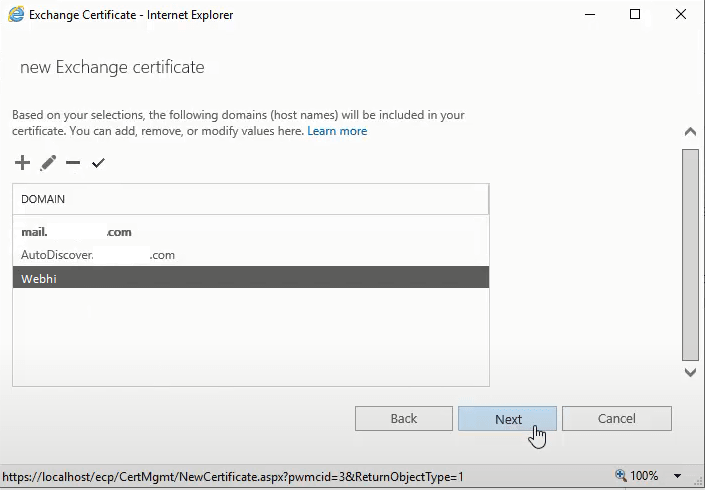
-
Configure Domains: Review the list of domains and use the symbols to add, modify, remove, and select the domains you wish to be included in your SSL certificate. Ensure that all relevant domains (e.g., mail.example.com, autodiscover.example.com, owa.example.com) are included.

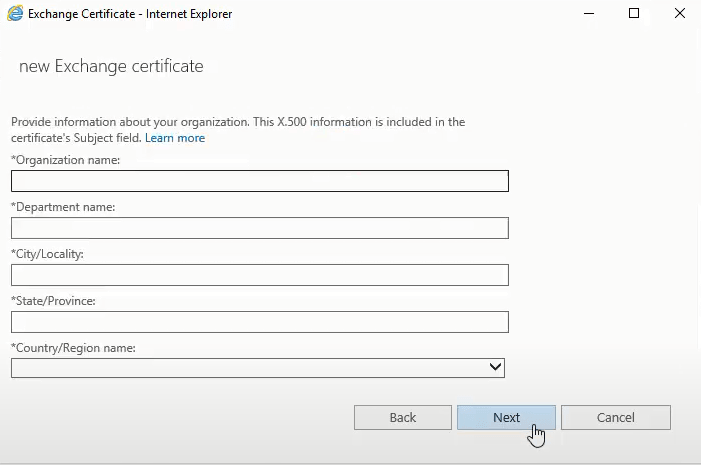
-
Organization Information: Enter your organization’s details, including the Organization Name, Department, City, State/Province, and Country/Region. Ensure that this information is accurate.

-
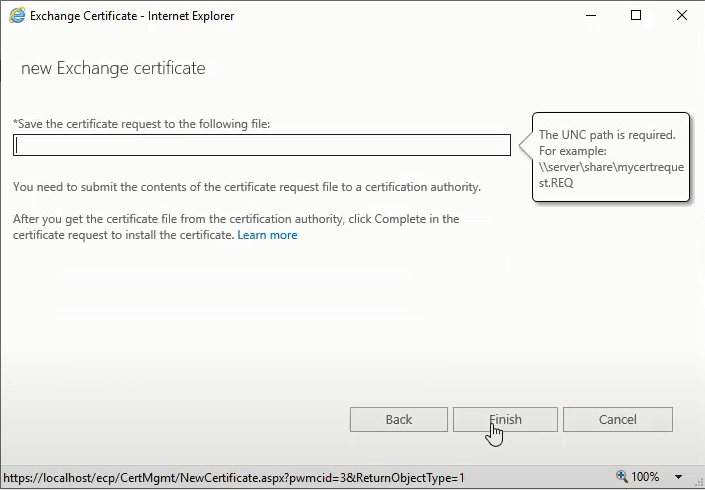
Save the CSR: Specify a location to save your CSR request under Save the certificate request to the following file. This should be a network share or a local folder accessible from your Exchange server.
-
Finish: Click Finish to generate the CSR and save it to the specified path.
-
Verify CSR Status: Your new certificate request should be added to the list with a status of Pending request.

Step 2: Submit the CSR to a Certificate Authority (CA)
Once you have generated the CSR, you need to submit it to a Certificate Authority (CA) to obtain your SSL certificate.
-
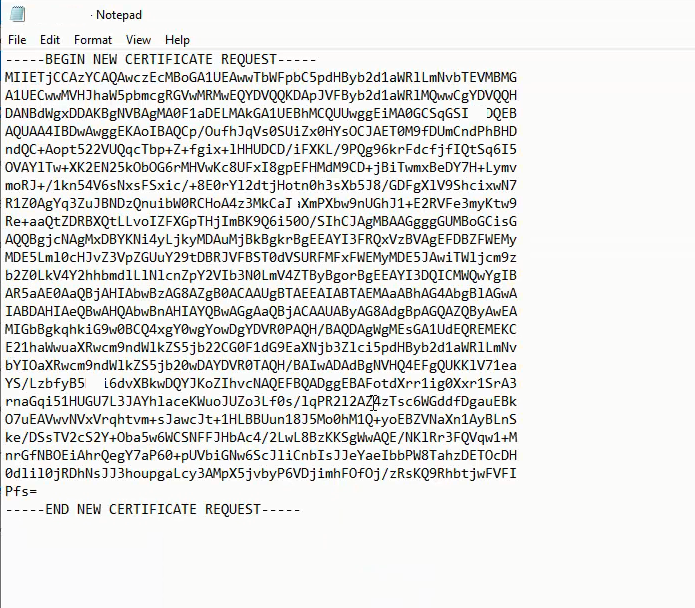
Open the CSR File: Use a text editor (e.g., Notepad) to open the CSR file that you saved in the previous step.

-
Copy the CSR Content: Copy the entire content of the CSR file, including the
-----BEGIN NEW CERTIFICATE REQUEST-----and-----END NEW CERTIFICATE REQUEST-----tags. -
Submit to CA: Paste the CSR content into the designated field on the CA’s website during the SSL certificate ordering process. Some CAs may allow you to upload the CSR file directly.
-
Complete the Order: Follow the CA’s instructions to complete the SSL certificate order and validation process.
Step 3: Import the SSL Certificate
After the CA has issued your SSL certificate, you’ll receive a certificate file (usually with a .cer or .crt extension). You need to import this certificate into your Exchange Server.
-
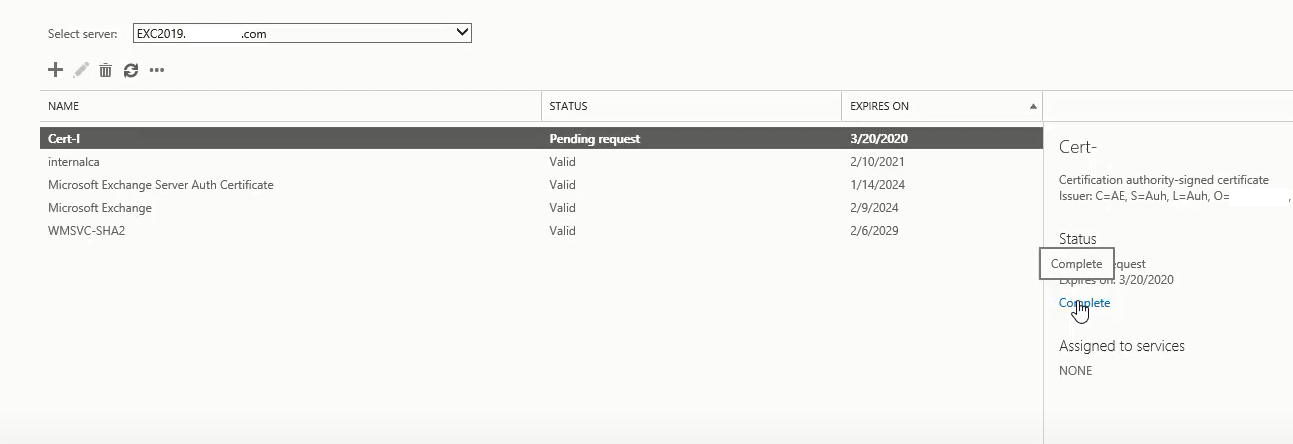
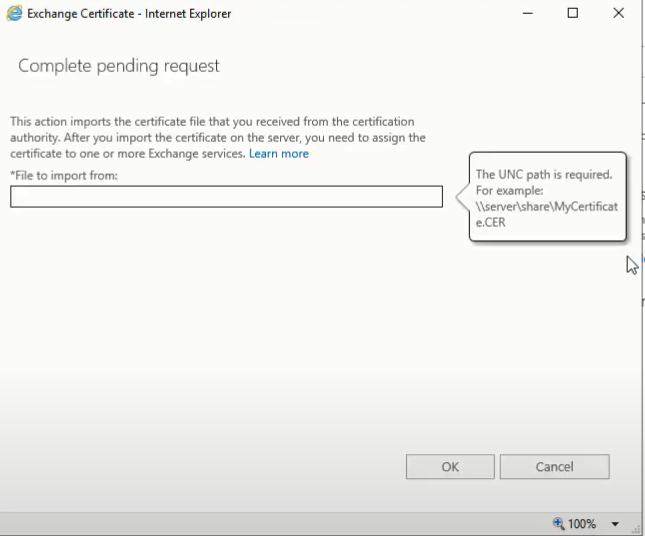
Return to EAC: Return to the EAC certifications page. The status of your request should still be Pending request. Click the complete button.

-
Specify Certificate File: Under File to import in the complete pending request wizard, input the path to your SSL certificate file.

Step 4: Assign Services to the Certificate
After importing the certificate, you need to assign the appropriate services to it. This tells Exchange Server which services should use the new certificate for encryption.
-
Select the Certificate: In the EAC, select the newly imported certificate.
-
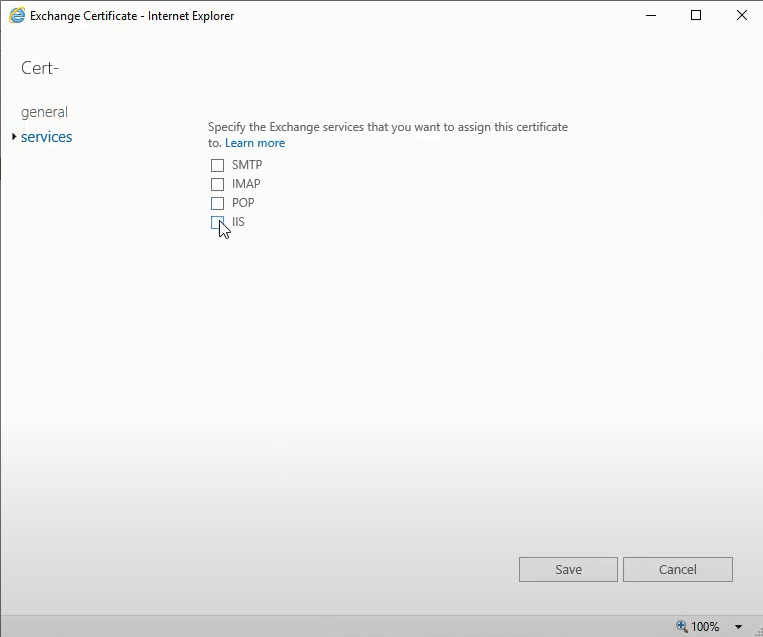
Assign Services: Click the Edit button (pencil icon) to open the certificate properties.
-
Services Tab: Go to the Services tab.
-
Select Services: Check the boxes next to the services that you want to assign to the certificate (e.g., SMTP, IMAP, POP, IIS).
-
Save Changes: Click Save to apply the changes.

-
Verify Status: The status of your certificate request should now be changed to Valid.
Alternative Solutions for Installing and Configuring an SSL Certificate in Microsoft Exchange Server
While the EAC provides a user-friendly interface for managing SSL certificates, alternative methods exist. Here are two different ways to accomplish the same goal:
1. Using PowerShell to Generate the CSR and Import the Certificate
PowerShell offers a command-line interface for managing Exchange Server, including certificate management. This approach can be beneficial for automation and scripting.
Generating the CSR with PowerShell:
The New-ExchangeCertificate cmdlet can be used to generate a CSR.
New-ExchangeCertificate -FriendlyName "Exchange SSL Certificate" -SubjectName "CN=mail.example.com,O=Your Organization,L=Your City,S=Your State,C=US" -DomainName mail.example.com,autodiscover.example.com,owa.example.com -PrivateKeyExportable $true -GenerateRequest -RequestFile "C:CSRExchange.req"Explanation:
-FriendlyName: A descriptive name for the certificate.-SubjectName: The subject name of the certificate, including the common name (CN) which should be the primary domain name.-DomainName: A comma-separated list of all domain names that the certificate should cover.-PrivateKeyExportable: Specifies whether the private key can be exported. Set to$trueif you need to move the certificate to another server.-GenerateRequest: Indicates that a CSR should be generated.-RequestFile: The path where the CSR file will be saved.
Importing the Certificate with PowerShell:
The Import-ExchangeCertificate cmdlet is used to import the certificate received from the CA.
Import-ExchangeCertificate -Path "C:CertificatesExchange.cer"Explanation:
-Path: The path to the certificate file.
After importing, you’ll need to enable the certificate for the desired services using the Enable-ExchangeCertificate cmdlet:
Enable-ExchangeCertificate -Thumbprint "<Thumbprint>" -Services "IIS, SMTP, IMAP, POP"Explanation:
-Thumbprint: The unique thumbprint of the certificate. You can find this in the EAC or by using theGet-ExchangeCertificatecmdlet.-Services: A comma-separated list of services to enable the certificate for.
2. Using a Third-Party Certificate Management Tool
Several third-party certificate management tools are available that can simplify the process of requesting, installing, and managing SSL certificates for Exchange Server. These tools often provide features such as:
- Automated CSR generation and submission
- Certificate renewal reminders and automation
- Centralized certificate management for multiple servers
- Monitoring certificate expiration dates
Examples of such tools include DigiCert Certificate Utility for Windows, KeyTalk, or GlobalSign Certificate Center. These tools typically integrate with Exchange Server and automate many of the manual steps involved in the certificate lifecycle. Using these tools involves installing the software on your Exchange server, configuring it with your CA credentials, and then using its interface to manage your certificates. The specific steps will vary depending on the tool you choose. Using a third-party tool is helpful in installing and configuring an SSL Certificate in Microsoft Exchange Server.
Conclusion
Installing and configuring an SSL certificate in Microsoft Exchange Server is a critical step in securing your email communication and protecting sensitive data. This guide has outlined the process using the Exchange Admin Center (EAC) and presented two alternative solutions using PowerShell and third-party certificate management tools. Choosing the right method depends on your specific needs and technical expertise. Regardless of the method you choose, ensuring that your Exchange Server has a valid and properly configured SSL certificate is essential for maintaining the security and integrity of your organization’s email environment. Successfully installing and configuring an SSL Certificate in Microsoft Exchange Server requires accuracy and attention to detail.